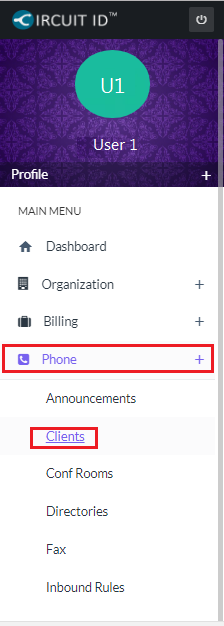
Ensure Phone is Added to Clients
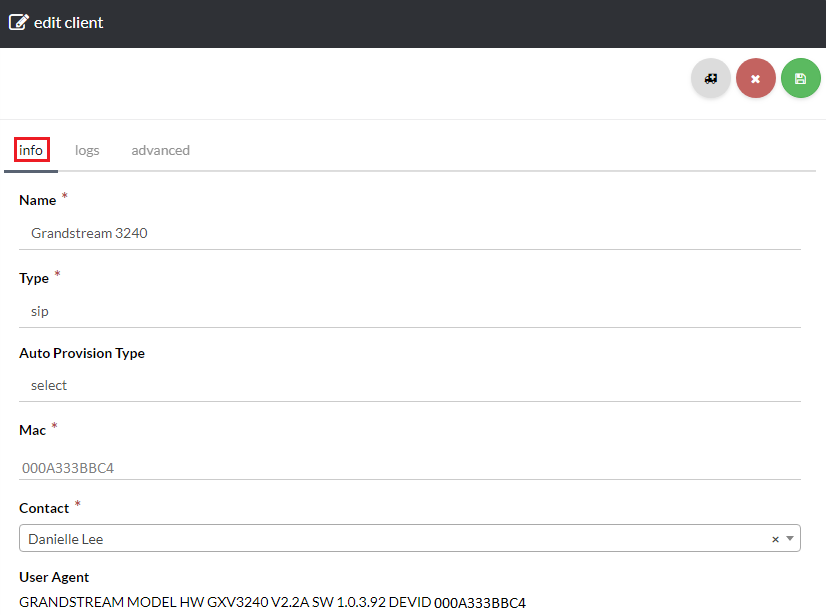
Navigate to Phone> Clients and click the client Name [su_exhibit text=”2a”]. Next, review the Client Information [su_exhibit text=”2b”].
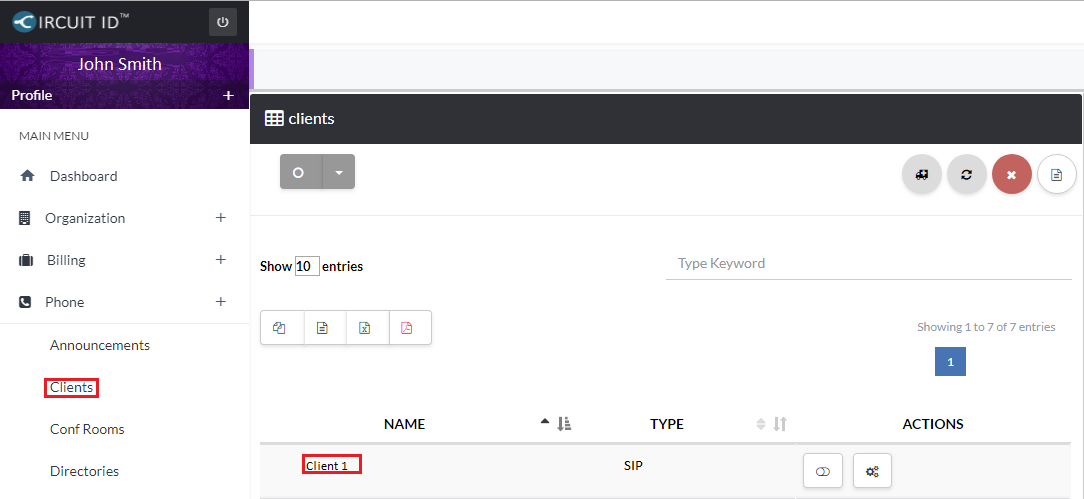
Ensure User Assigned to Phone Has Correct License
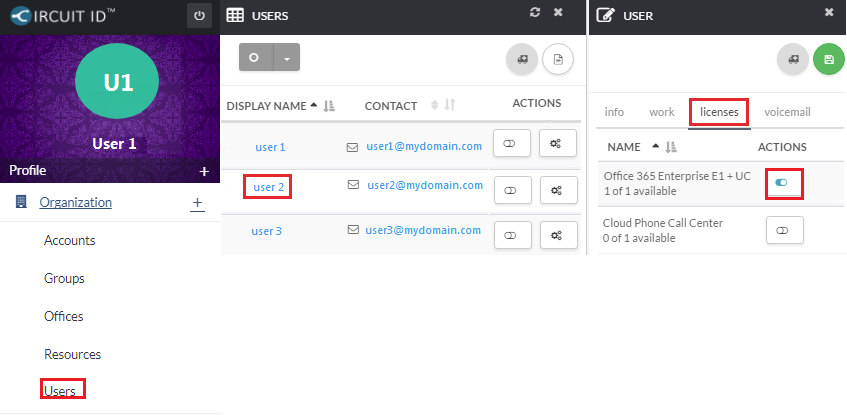
Next, go to Organization> Users and click the Display Name of the user, and on the User page, click licenses, and confirm if the user assigned to the phone has the correct license[su_exhibit text=”3″].
If Whitelist is Enabled, Ensure IP Address is Added on the Whitelist
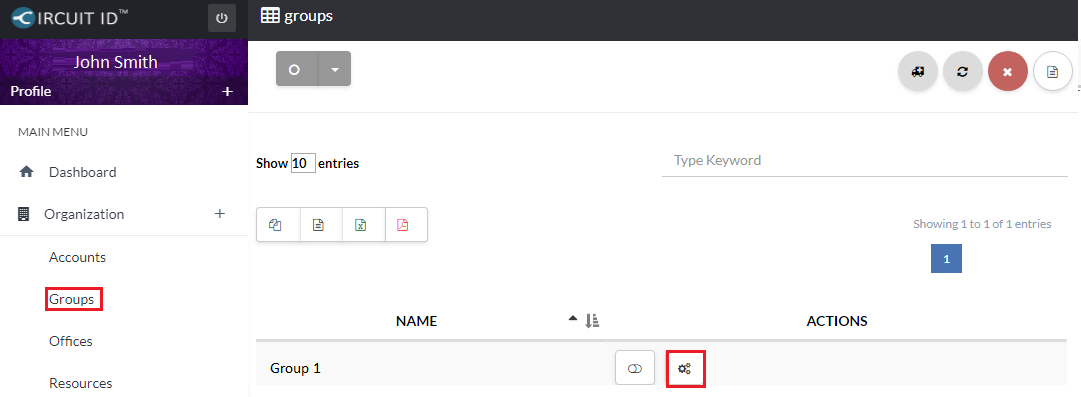
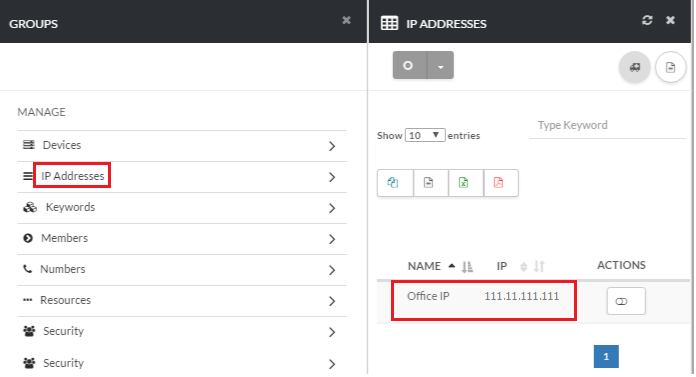
First, go to Organization> Groups and click the Gear icon under actions [su_exhibit text=”4a”], and on the Group page, go to IP Addresses, and confirm IP Address of group [su_exhibit text=”4b”].
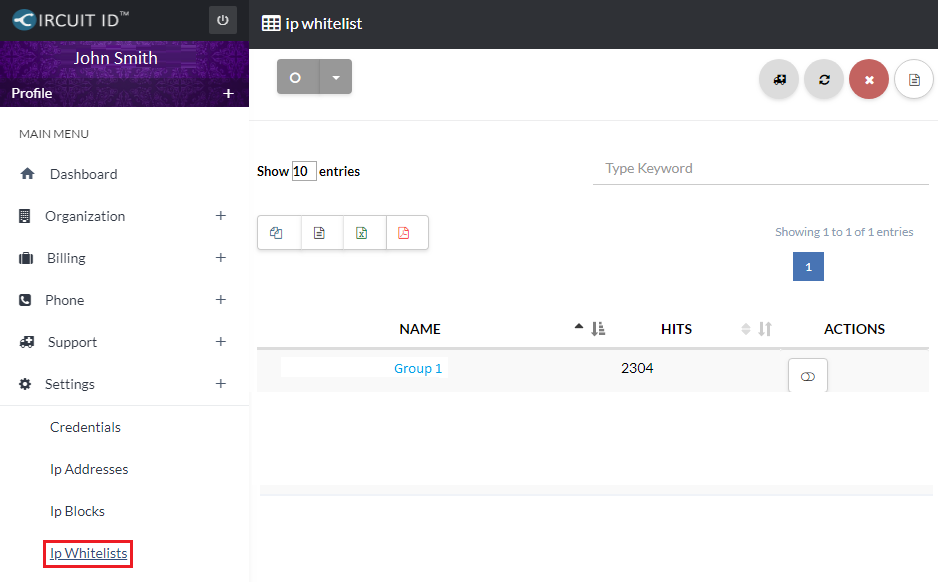
To view the Whitelist, go to Settings> IP Whitelists and click the Name of the IP Whitelist, and on the IP Whitelist Info page, confirm if the user is included in the Group that is on the Whitelist [su_exhibit text=”4c”].
Boot Phone
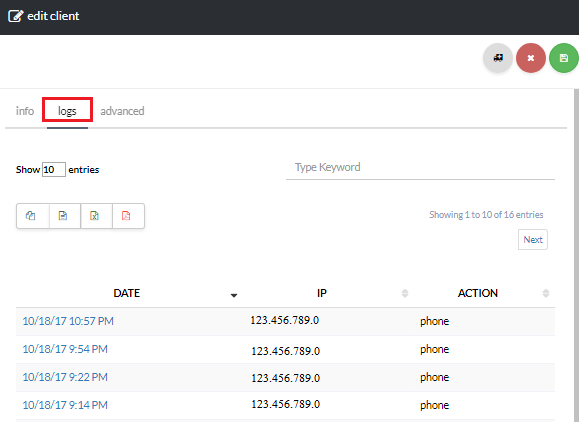
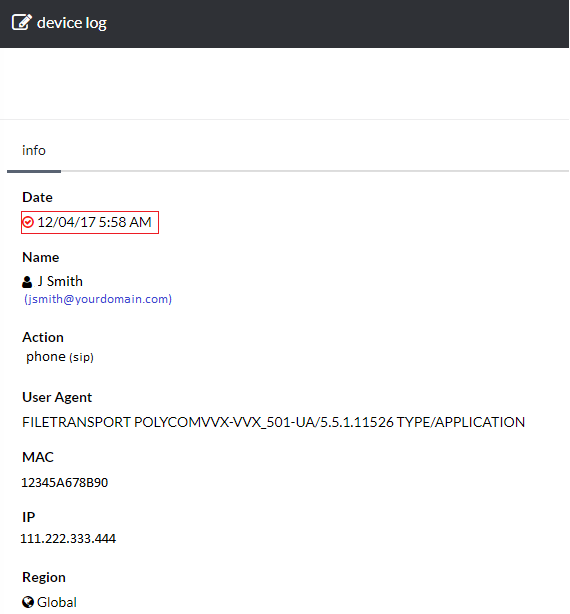
Lastly, Boot the phone, and navigate to Phone> Clients and select your client[su_exhibit text=”5a”]. Click Logs at the top of the page [su_exhibit text=”5b”]. check if logs show red check mark [su_exhibit text=”5c”]. If red check mark is present, contact support .
