1. Home
  2. Phone
  3. Inbound Rules
  4. How to Route Calls to a Group

How to Route Calls to a Group

About

This article demonstrates step-by-step instructions for Send a Call to a Group.

Step-by-Step Instructions

The below table will detail the steps required to accomplish your goals:

123

Login

Login to the Management Portal by clicking a sign-on provider or entering your Email Address and Password as shown in Exhibit 1. If you don't have an account, you can sign signup instantly by clicking here.
Management Portal Login Form

Create Group and Add Members

Now, if you havn’t done so already, go ahead and create a new group. For more information on how to create a group, please see How to Create a New Group

Next, we need to add members to that group. For more information on how to add members to a group, please see How to Add/Remove Members to a Group

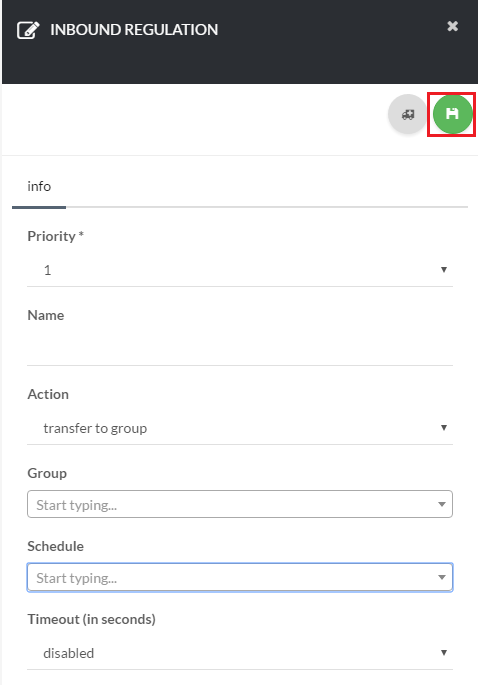
Create a Inbound Routing Rules

If you dont already have a routing rule setup, now is the time to do so. You can get detailed instruction on how to setup a new routing here here: How to Create a Inbound Routing Rule

However, note that in this case, when selecting a action for your rule, select Transfer to Group as shown in Exhibit 3. Now, any number that is routed to this routing rule, will ring to your call group.

 Navigate to Conference Attendant
Transfer to Group

Conclusion

Congratulations! You have now completed the "How-To Send a Call to a Group" article and we hope that you have accomplished the goals you set out to achieve. However, if for any reason you may still require assistance with setup, simply login to the Management Portal and submit a support request.


print
Updated on February 2, 2018

Was this article helpful?

Related Articles