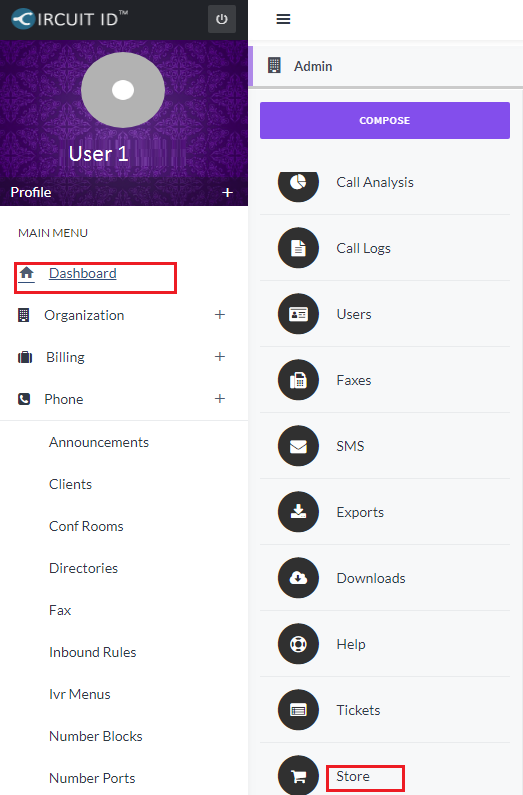
Purchase Call Recording License
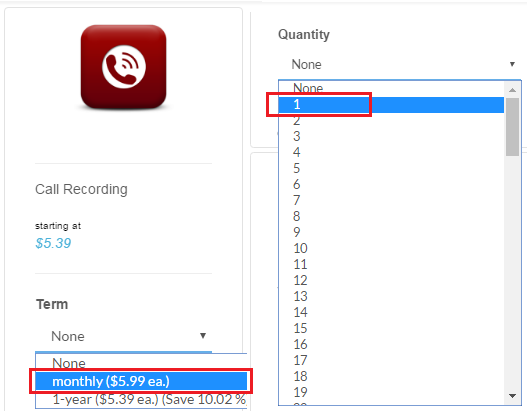
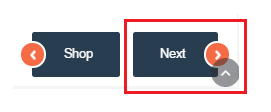
From the Dashboard, click on Store or the Cart Icon [su_exhibit text=”2a”] to view the products and services page. Then, choose Call Recording and select the Term and Quantity from the drop down list [su_exhibit text=”2b”], and click Next on the bottom right side of the page [su_exhibit text=”2c”].
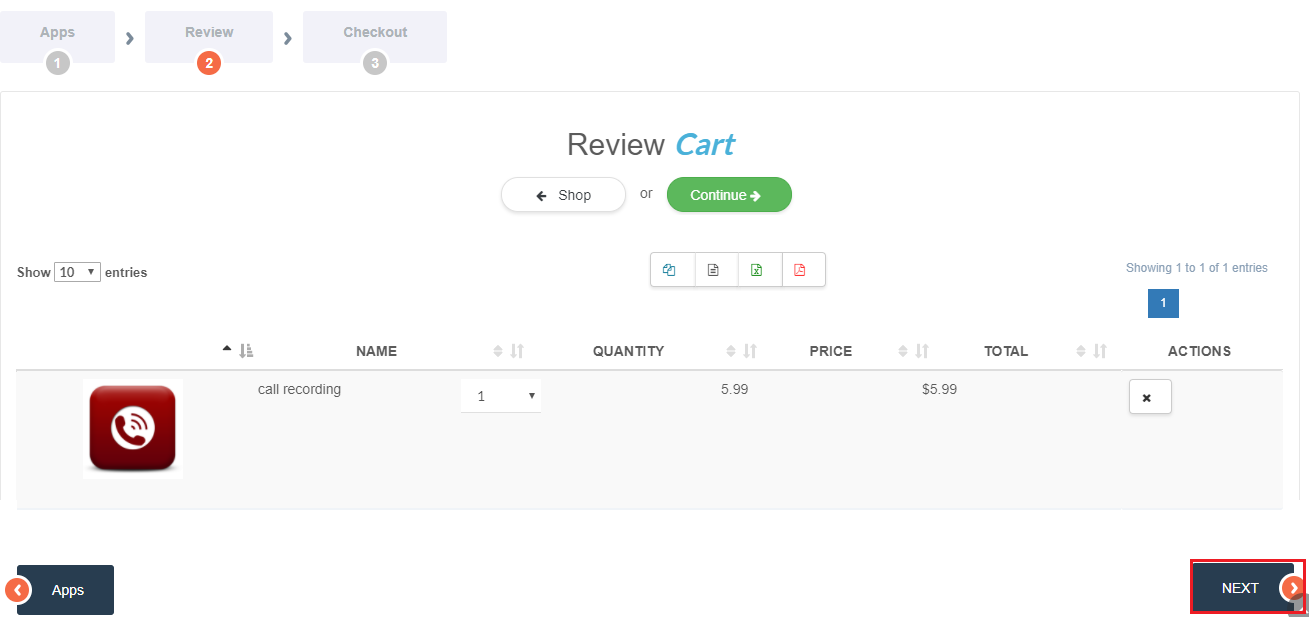
Review and Complete the Purchase
Next, review the product you are purchasing, and click on the Next button [su_exhibit text=”3a”].
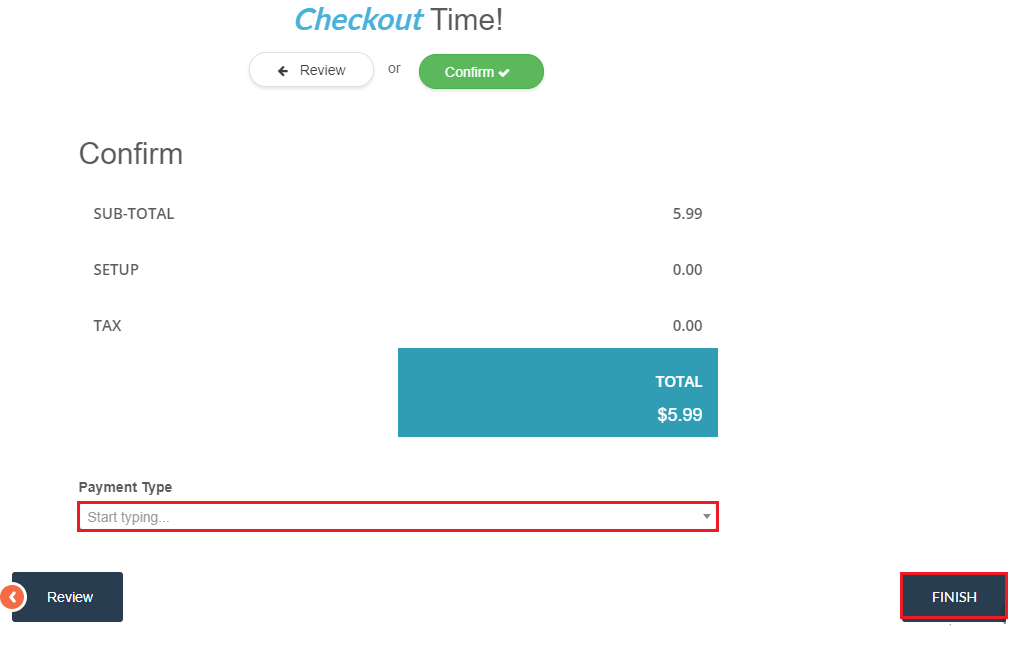
To complete the purchase, you need to choose your Payment Type from the list of options, and click on Finish on the bottom right side of the page [su_exhibit text=”3b”].
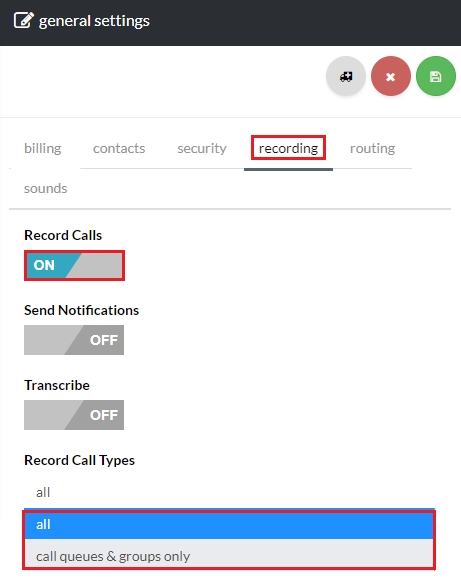
Enable Call Recording
From the Dashboard, click on the Profile icon located on the upper left hand side of the page, and click General [su_exhibit text=”4a”].
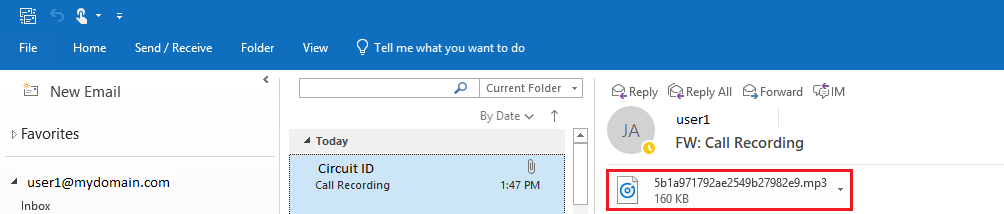
On the General Settings page, go to the Recording tab, and enable/disable the Record Calls. You can also choose the type of calls to record under Record Call Types. Click Save to commit your changes [su_exhibit text=”4b”]. The contact you have listed on your account will receive an email with the call recording attached [su_exhibit text=”4c”].
For you convenience, a description of each field is provided below.