[su_howto_introduction text=”How to Enable Call Recording Notifications”]
[su_howto_steps]
123
[su_management_portal_login]
Navigate to Recordings
[su_dashboard_settings content=”General”]
Enable Call Recording Notifications
Note: Call Recordings must be enabled before you can send notifications.
[su_call_recordings content=”Send Notifications”]
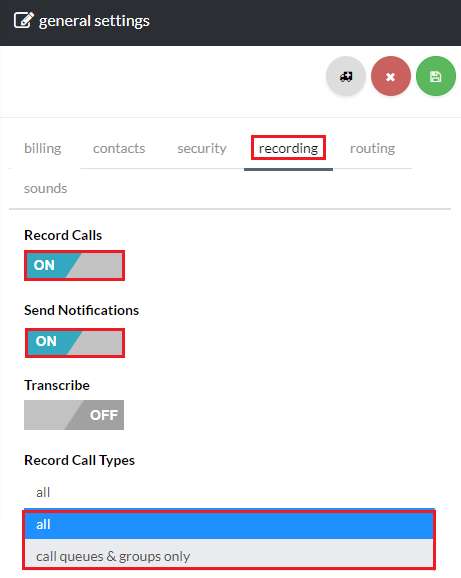
Record Calls
Turn on to enable call recording.
Send Recording Notifications
Turn on to receive email notification of the Recording. Note that the notification is sent to the person listed as the call recording contact.
Record Call Types
Choose to record “All” call, or record calls from “Call Queues and Groups Only”.
 Save Recording
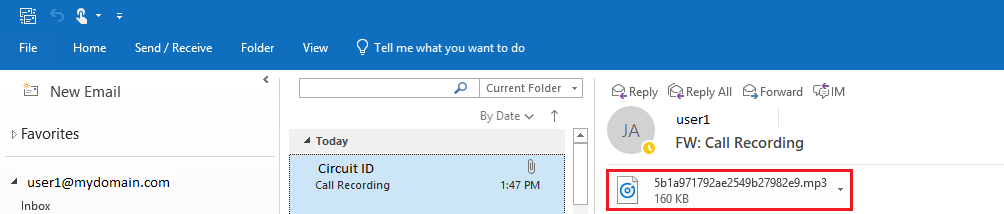 Notification Email
[su_howto_conclusion text=”Enable Call Recording Notifications”]


