123
[su_management_portal_login]
[su_dashboard_settings content=”General”]
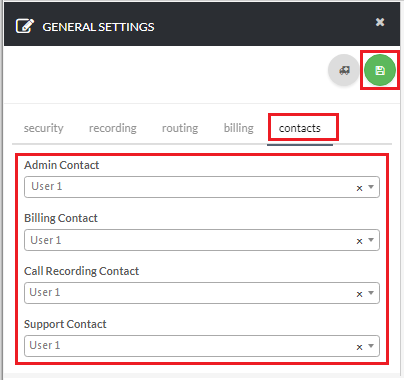
Go to Contacts
Lastly, on General Settings, go to the Contacts tab, and select a contact where the email notifications for Admin, Billing, Call Recording, and Support will be. Click Save [su_exhibit text=”2″] to commit to the changes.