123
[su_management_portal_login]
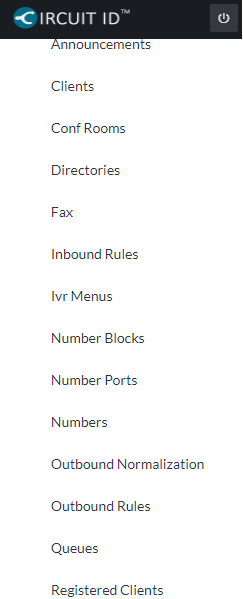
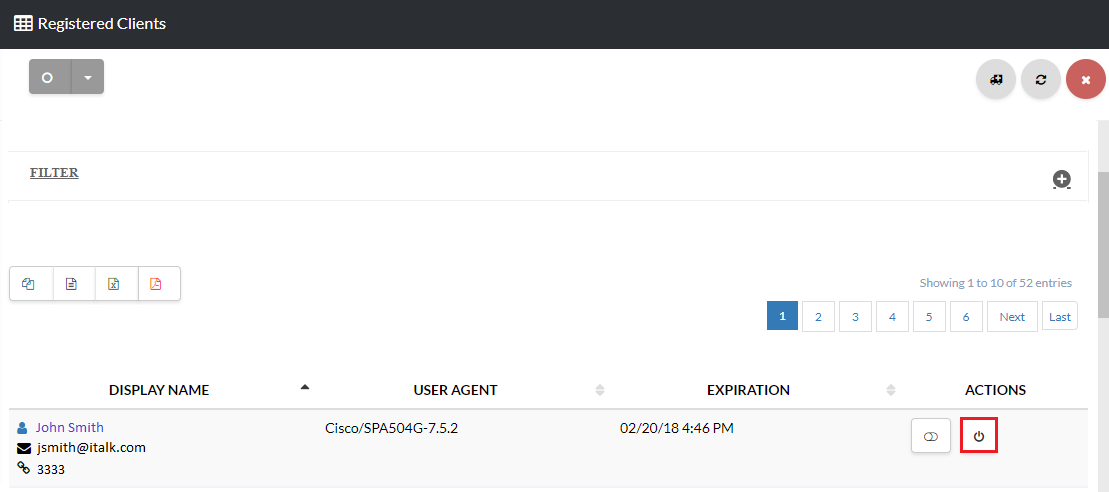
Registered Clients
Navigate to Phone and click Registered Clients [su_exhibit text=”2a”]. You can re-sync the device by clicking the Power button [su_exhibit text=”2b”].
Note: If your device is not listed on the registered clients page the device has not been registered.
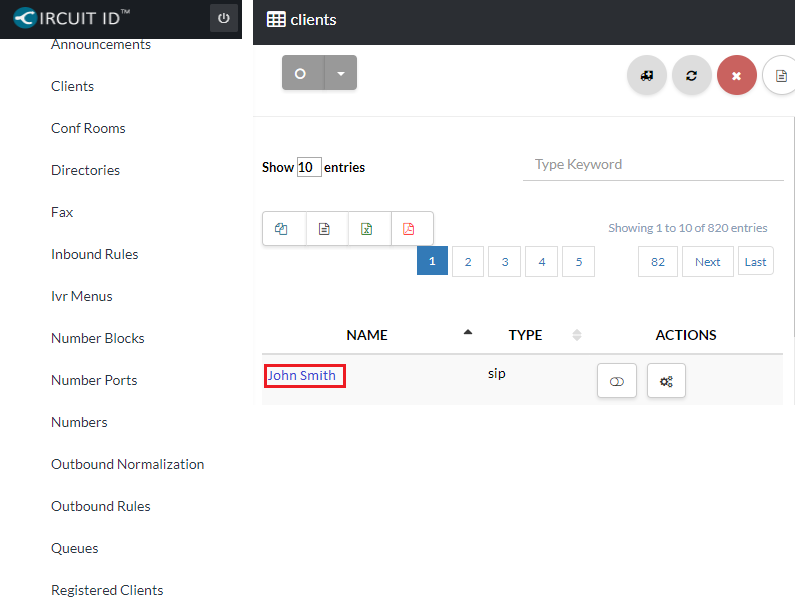
Clients
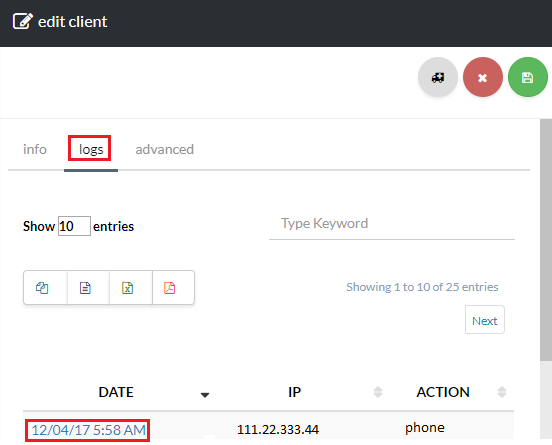
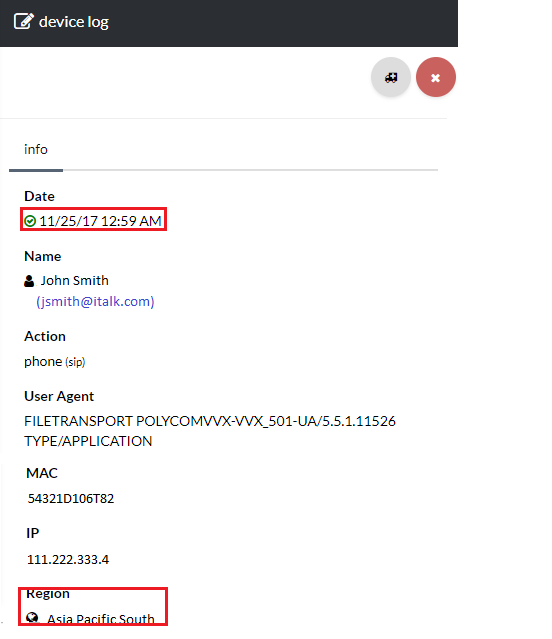
Navigate to Clients and click on the desired client [su_exhibit text=”3a”]. Now, click the Logs tab and select a log by clicking on the Date of the log [su_exhibit text=”3b”]. You can view information about your device on the device log page. If there is a green check mark the device is configured properly, you can also see what Region the client is assigned to [su_exhibit text=”3c”]