[su_tab_title text=”Create User Keys”]
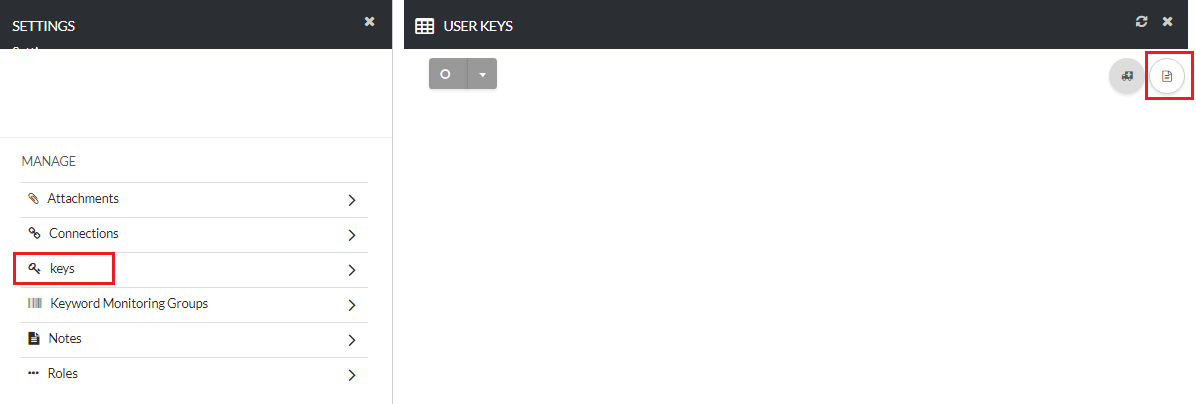
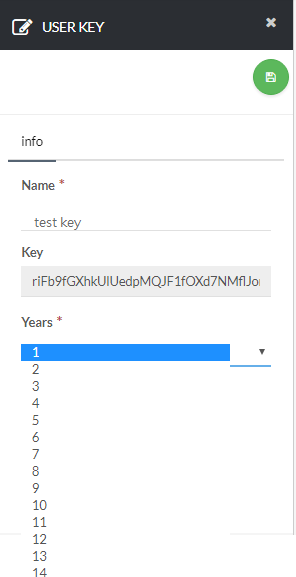
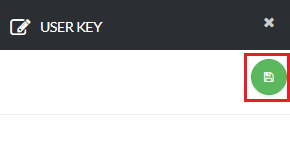
Next, click Keys and click the create icon on the top right-hand side of the page [su_exhibit text=”3a”]. Then, create a new user key by filling out all the fields under the Info tab [su_exhibit text=”3b”]. Once you are done click the save icon at the top right side of the screen [su_exhibit text=”3c”].
[su_field_description]
Info
Name
A descriptive Name for the key.
Key
This will automatically populate a key for the user.