Purchase Voicemail License
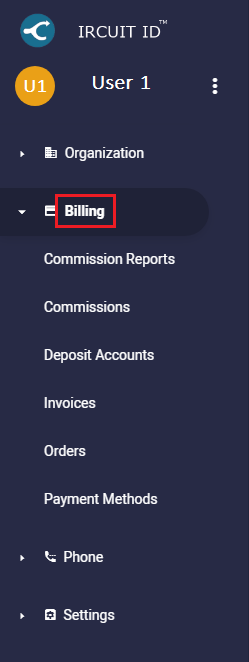
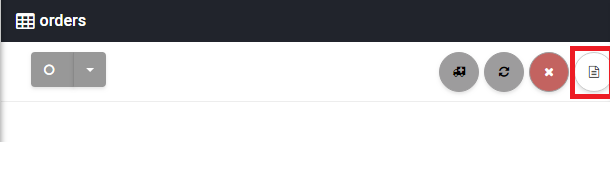
To get started, go to Billing and click Orders [su_exhibit text=”2a”]. Next, click new to view the products and services page [su_exhibit text=”2b”].
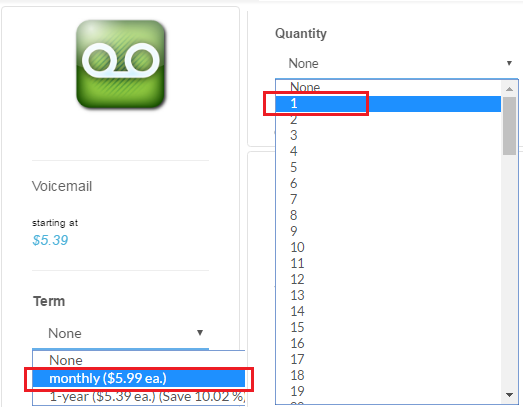
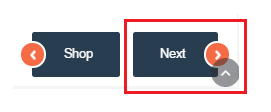
Then, choose Voicemail and select the Term and Quantity from the drop down list [su_exhibit text=”2c”], and click Next on the bottom right side of the page [su_exhibit text=”2d”].
Review and Complete the Purchase
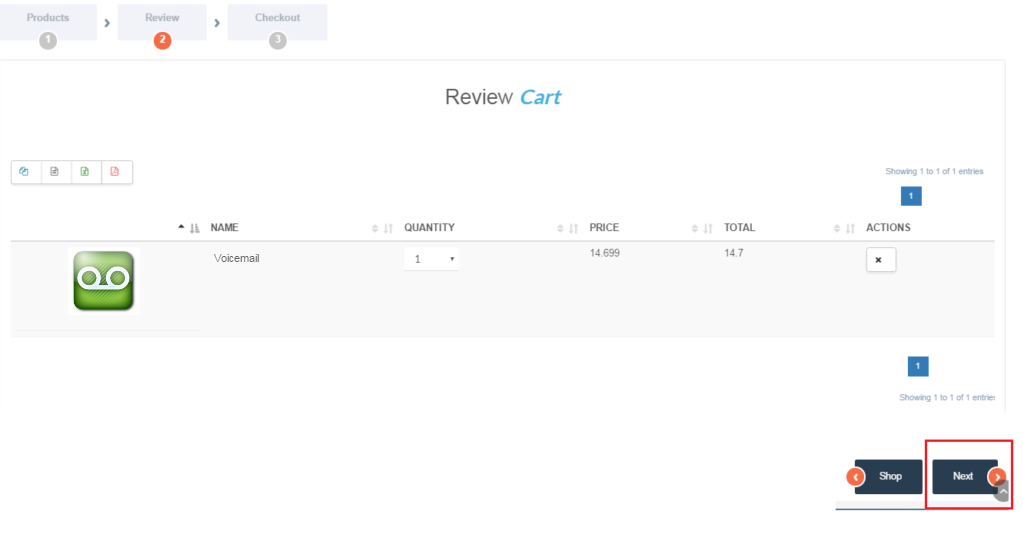
Next, review the product you are purchasing, and click on the Next button [su_exhibit text=”3a”]. Remember, you will need one voicemail license per user.
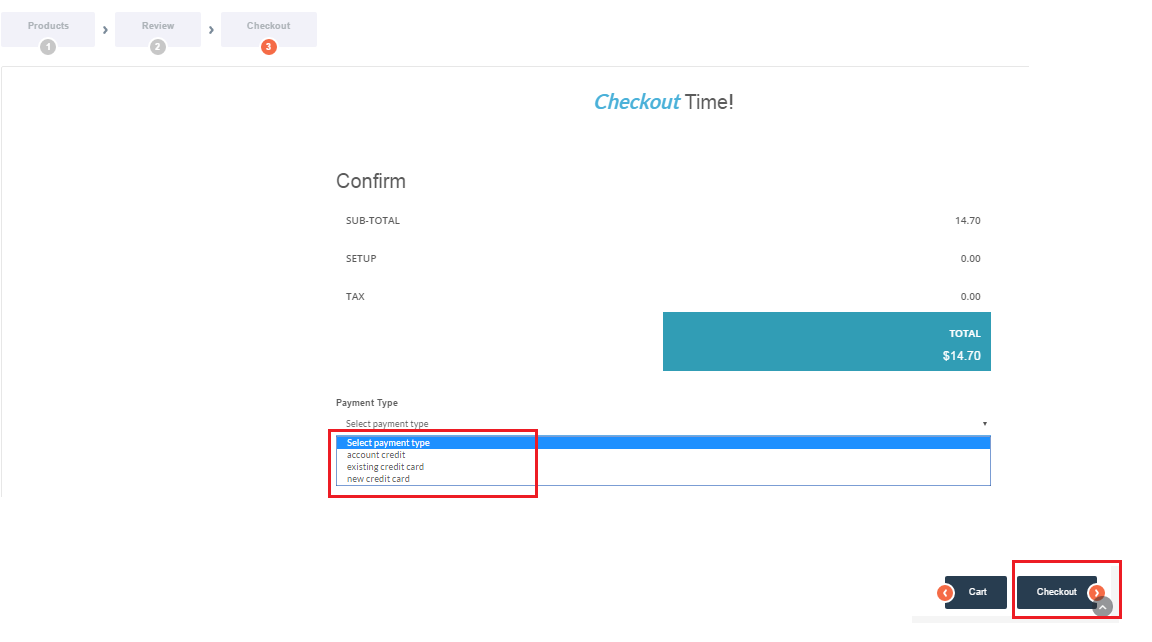
To complete the purchase, you need to choose your Payment Type from the list of options, and click on Checkout on the bottom right side of the page [su_exhibit text=”3b”].
Enable Voicemail on a User
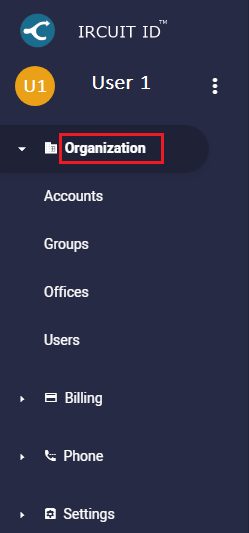
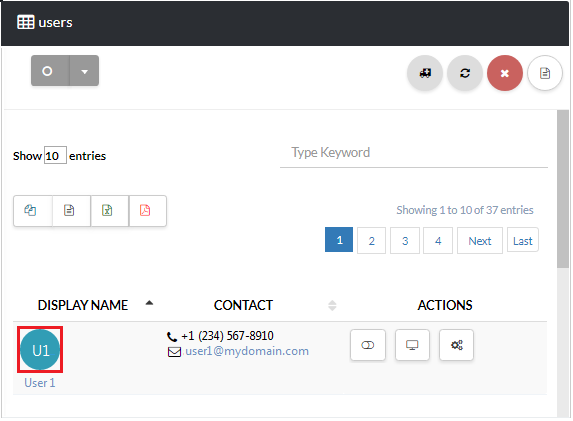
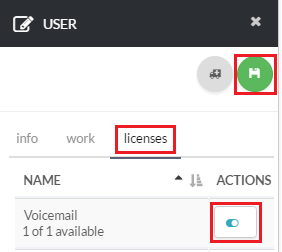
Now, navigate to Organization > Users [su_exhibit text=”4a”]. Next, select a User [su_exhibit text=”4b”]. Then, go to the Licenses tab, and search for Voicemail . Click the slider to enable it. Lastly, click on the Save button to complete the process [su_exhibit text=”4c”].
You’re done! Voicemail is now enabled on your first user.
How to Setup Your Greeting
Almost done! To record your name or Voicemail greeting, follow the below steps:
- Call your Voicemail box phone number and press the “0” key during the Voicemail greeting.
- You should be prompted to enter in your Voicemail PIN. Key in your Voicemail password followed by the “#” key to continue.
- At the main menu, press “5” to access your mailbox options.
- Record your greeting by pressing “1”. You can also optionally record your name by pressing “3” or choose your greeting by pressing “2”.
Now that you have recorded your greeting, go back to the specific user’s page by navigating back to Organization > users and selecting the user again.
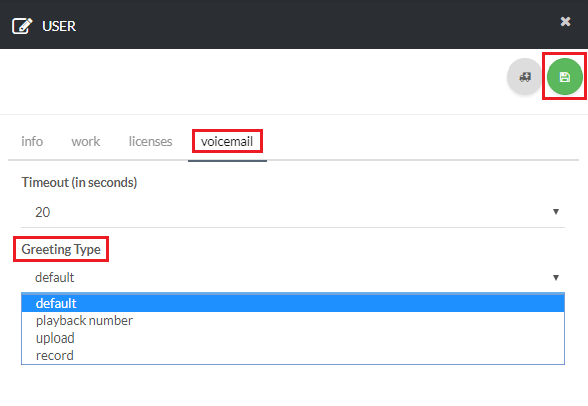
Click on the Voicemail tab and setup your voicemail by entering the required information. Once you are finish click save to commit your changes [su_exhibit text=”5″].
For you convenience, a description of each field is provided below.
Voicemail
And you are done! You may test it by calling your voicemail number.