This article demonstrates step-by-step instructions for How to setup Call Center License.
Product Features
Call Queues
Leverage intelligent queues to route calls to agents, queues or departments. Also allows you to set priorities for answering calls depending customized rules.
Live Call Monitoring
Agents can view real-time call dashboard, while supervisors can manage all real-time calls from the supervisor dashboard.
Eavesdrop
Keep quality of calls in check with this eavesdrop feature that allows supervisors to remotely manage and listen to live calls.
Call Recording
Provides the easiest way to record any phone conversation! And you can set which calls are recorded. Additional charges apply.
Open Subscriptions
This feature allows agents to leave and join call queues at the click of a button!
Directories
This is dialing with convenience. Search users by Name or Directory and easily locate employees.
Keyword Call Monitoring
Enhance your call monitoring process by activating this feature. This Quality Assurance (QA) and Quality Control (QC) feature allows you to setup keyword alerts and keyword detection for recorded calls and conversations between your support team and your customers, making sure that agents adhere to certain company and customer experience protocols.
Agent Dashboard
The agent dashboard allows you to manage and track your agents’ calls. CircuitID uses technologies that ensure intelligent user interface further promoting better interactive experience. You can also grant agents access to their own dashboard and set certain permissions for them.
Remote Management
Managing a dynamic environment such as virtual call centers can become a tedious process if you do not have the right tools that allows you to maintain the much needed degree and level of control. This feature allows you to monitor and manage agents remotely. It also allows you to view agent activities and remotely observe them.
View Detailed Reports
This feature allows you to generate detailed information regarding conferences. These information include name of users who joined the conference, date & time they joined, roles in the conference as well as a report of those who were not able to join the conference.
Step-by-Step Instructions
The below table will detail the steps required to accomplish your goals:
1234
Login
Login to the Management Portal by clicking a sign-on provider or entering your Email Address and Password as shown in Exhibit 1. If you don't have an account, you can sign signup instantly by clicking here.
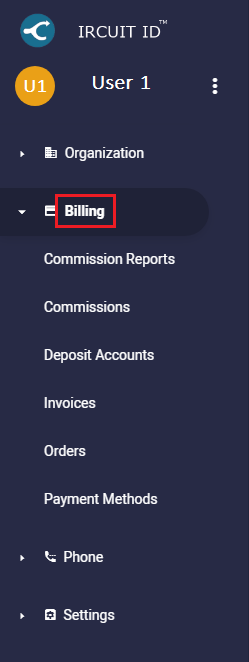
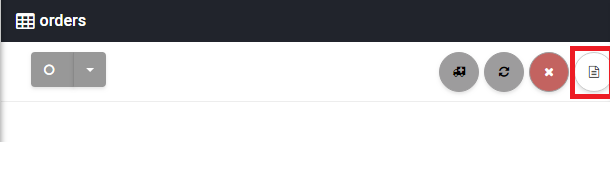
To get started, go to Billing and click Orders as shown in Exhibit 2a. Next, click new to view the products and services page as shown in Exhibit 2b.
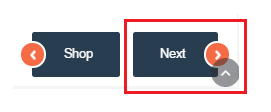
Then, choose Call Center Agent and select the Term and Quantity from the drop down list as shown in Exhibit 2c, and click Next on the bottom right side of the page as shown in Exhibit 2d.
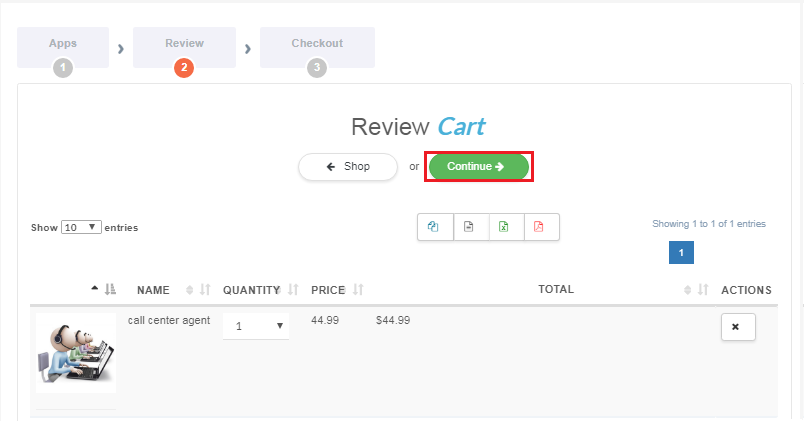
Next, review the product you are purchasing, and click on the Continue button as shown in Exhibit 3a. Remember, you will need one Call Center Agent license per user.
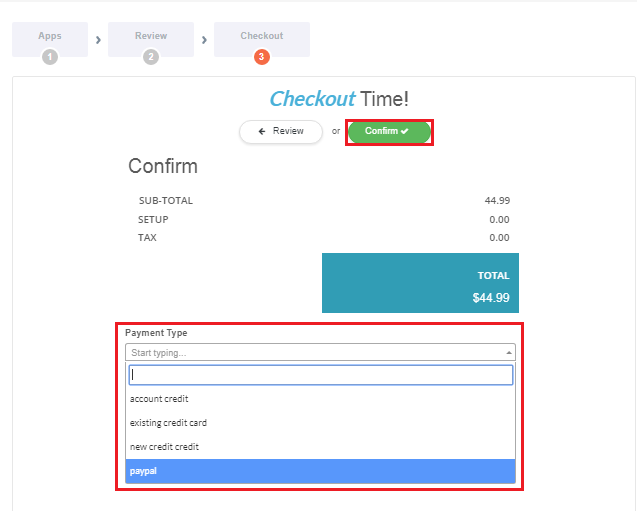
To complete the purchase, you need to choose your Payment Type from the list of options, and click the Confirm button as shown in Exhibit 3b.
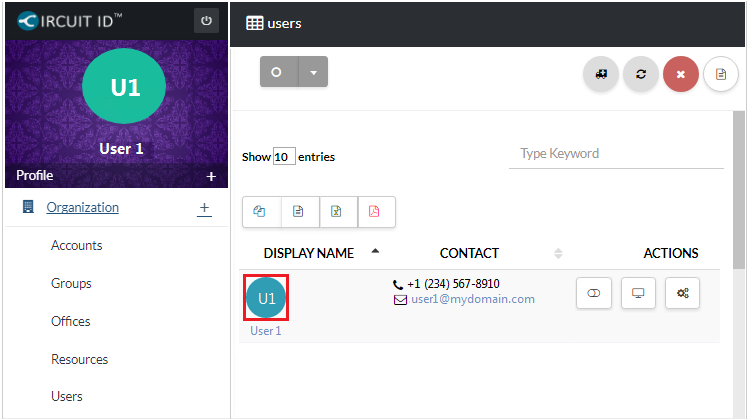
Now, navigate to Organization > Users, and select a User as shown in Exhibit 4a. Then, go to the Licenses tab, search for Call Center Agent Pack, and click the slider to enable it. Lastly, click on the Save button to complete the process as shown in Exhibit 4b.
You’re done! Call Center Agent is now enabled on your first user.
Congratulations! You have now completed the "How-To Setup Call Center License" article and we hope that you have accomplished the goals you set out to achieve. However, if for any reason you may still require assistance with setup, simply login to the Management Portal and submit a support request.