12345
[su_management_portal_login]
Add your Free PBX Server(s) to Circuit ID
Follow the How to Add your Server(s) to Circuit ID guide
Purchase Phone Numbers
Follow the How to Purchase Phone Numbers guide to purchase one (1) or more numbers.
Creating a SIP trunk to Free PBX
- Login to the Free PBX admin panel.
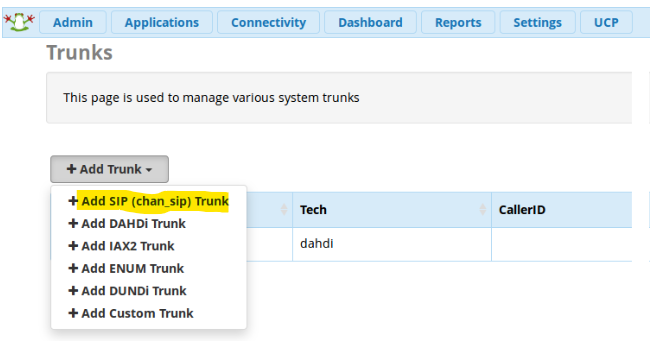
- Go to the Connectivity >> Trunks >> Add SIP (chan_sip) Trunk as shown in Exhibit 1.
- Click on the Add SIP (Chan_sip) Trunk to add a new Gateway and enter the following information as shown in Exhibit 2:
- General Settings
- Trunk name: CircuitID
- Outbound Caller ID: The default outbound caller ID. Note that the caller ID can be overwritten on a per extension basis.
- Outgoing Settings: (Note: The information after the semicolon (;) is considered a comment and must be deleted for the trunk to work properly on some PBX versions.)
- canreinvite=nonat
- nat=yes
- context=from-trunk
- host=g.pstn.circuitid.com
- username=NA
- fromuser=NA
- secret=**** (NA)
- type=peer
- disallow=all
- allow=ulaw
- ; allow=g729 ; uncomment if you purchased g.729 from Digium
- trustrpid=yes
- sendrpid=yes
- insecure=invite
- qualify=yes
- General Settings

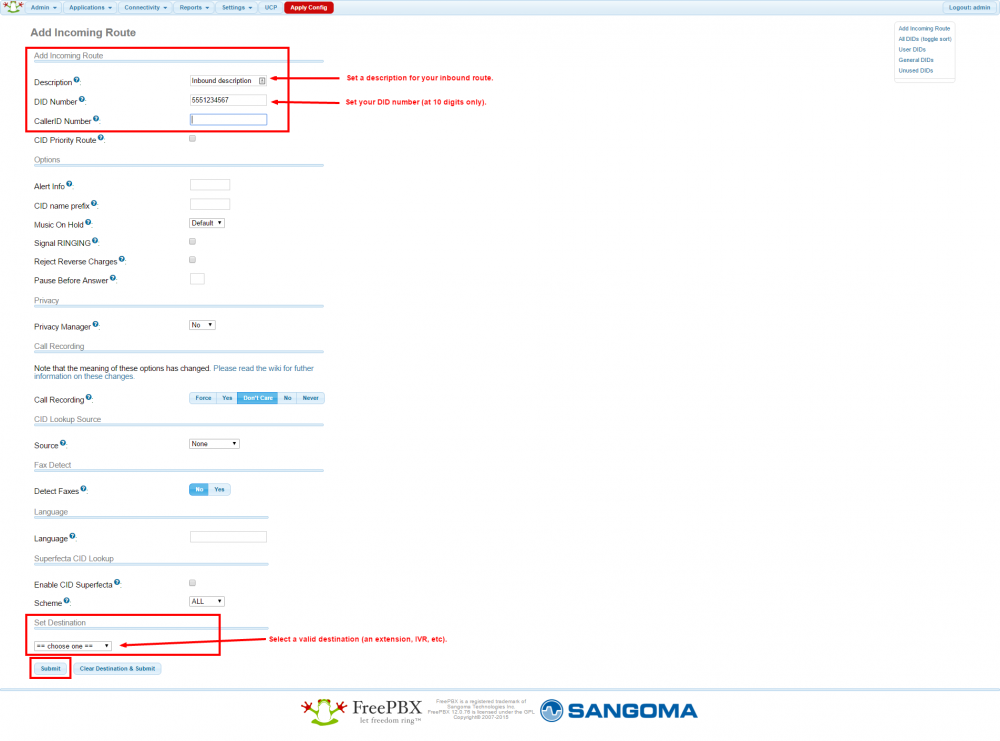
Configure Inbound Routes for Inbound Calls
- To create inbound routes, go to Connectivity, then click Inbound Routes.
- Next, add an incoming route for each number you purchased in step 3 of this articles as follows:
- Description: Provide a meaningful description of what this incoming route is.
- DID number: Enter the phone number you purchased in Step 3.
- Set Destination: Set the destination that will receive calls when this number is dialed.
- Click Submit to save your route.
- Finally, click on “Apply config” to commit your changes to the server.