How to Add a New Server [su_howto_introduction text=”Adding a New Server”] [su_howto_steps] 123 [su_management_portal_login] [su_phone_menu content=”Servers”] Server Information [su_server_info content=3] Exhibit 3 Server information [su_howto_conclusion text=”How to Add a New Server”] print Don't be shellfish...FacebookDiggitGoogleLinkedinPinterestRedditStumbleuponTwitterEmail Updated on July 9, 2018 Tagged: addnewserver Was this article helpful? Yes No Related Articles How to Install & Setup Asterisk PBX SIP Trunking How to Install & Setup Free PBX SIP Trunking How to Install & Setup Fusion PBX SIP Trunking How to Install & Setup 3CX SIP Trunking How to Setup SIP Trunking With Circuit ID How to Manage Servers
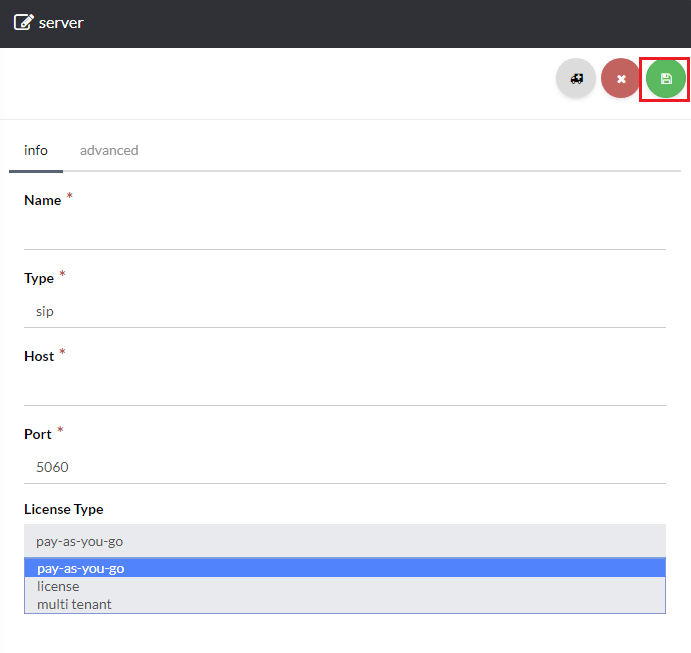 Server information


