1234
[su_management_portal_login]
Create New Ticket
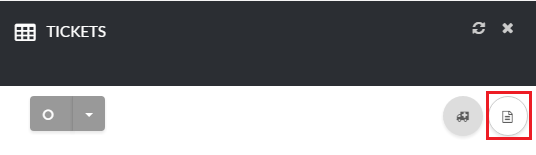
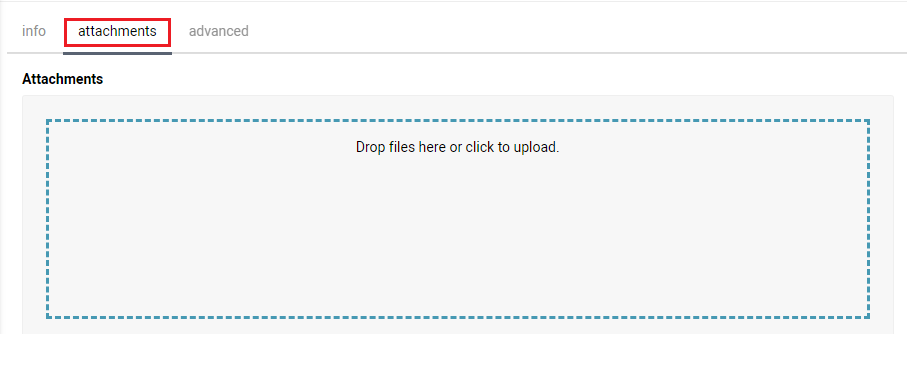
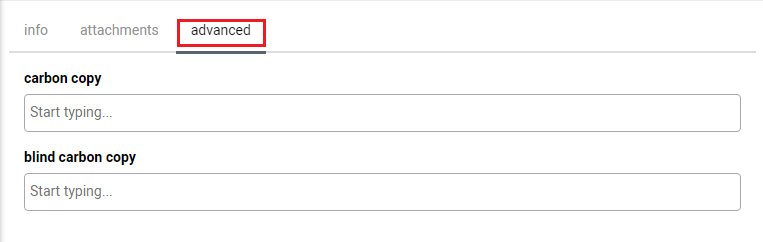
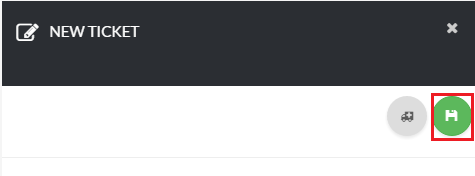
Now, click the create icon in the upper right hand-side of the page [su_exhibit text=”3a”]. Next, you will need to complete the required fields under the Info section [su_exhibit text=”3b”], the Attachment [su_exhibit text=”3c”], and Advanced section [su_exhibit text=”3d”]. Click the save icon on the top right-hand side of the page once you are done [su_exhibit text=”3e”].
[su_field_description]Info
Attachment
Advanced

Manage Your Ticket
Ticket Actions

| Name | Description |
| Notes | This is the first icon to the left of the screen. You can click here to add notes that only your users can see to your ticket. |
| Comments | This is the second icon to the left of the screen. You can click here to update or reply to your ticket. |
| Reject Ticket | This is the third icon to the left of the screen. You can click here to reject a ticket. Once a ticket has been rejected it cannot be reopened. |
| Close Ticket | This is the fourth icon to the left of the screen. You can click here to close your ticket once your issue is resolved. |
| Start Work | This is the fifth icon to the left of the screen. Click here to start working on your ticket. |
| Route Ticket | This is the sixth icon to the left of the screen. Allows you to unassign a ticket and put it back in routing. |
| Help | This is the seventh icon to the left of the screen. You can find articles that provide more information on creating a ticket. |
| Save | This is the last icon on the screen. You can click here to save changes to your ticket. |
Ticket Details
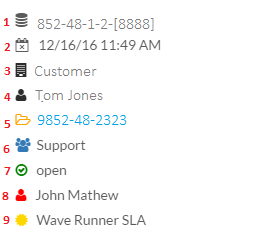
| Name | Description |
| 1 | This is your ticket id. |
| 2 | This is the date your ticket was created. |
| 3 | This is the account that the ticket was created for. |
| 4 | This is the contact person the ticket is assigned to. |
| 5 | This is your Circuit ID customer id. |
| 6 | This is the department that your ticket is assigned to . |
| 7 | This is the status of your ticket. |
| 8 | This is the engineer that your ticket is assigned to . |
| 9 | This is SLA used to create your ticket. |


