About
This article demonstrates step-by-step instructions for Attaching Files to a Ticket.Step-by-Step Instructions
The below table will detail the steps required to accomplish your goals:123
Login
Login to the Management Portal by clicking a sign-on provider or entering your Email Address and Password as shown in Exhibit 1. If you don't have an account, you can sign signup instantly by clicking here.
Navigate to Tickets
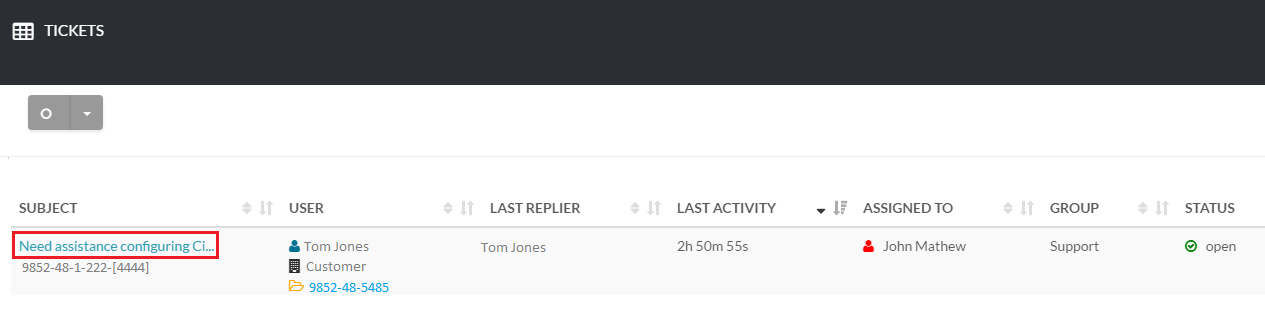
From the dashboard click on the Support tab in the upper right hand-side of the page, next click on Tickets as shown in Exhibit 2a and click the subject of the ticket where you want to add the attachment as shown in Exhibit 2b.
Add Attachment
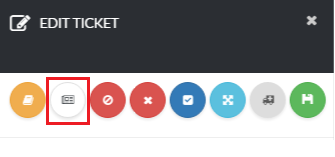
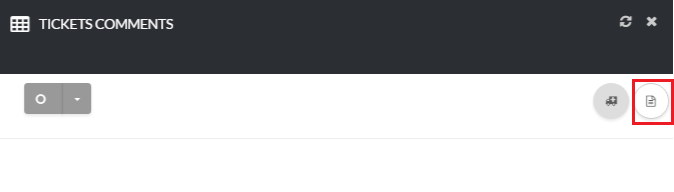
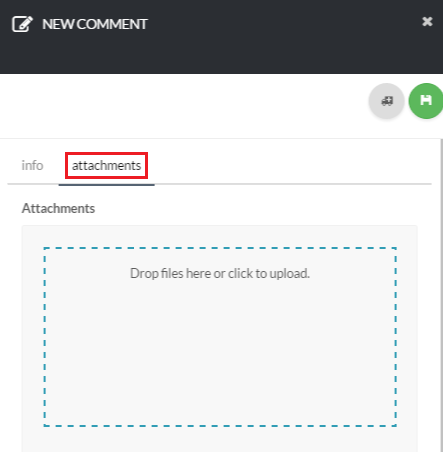
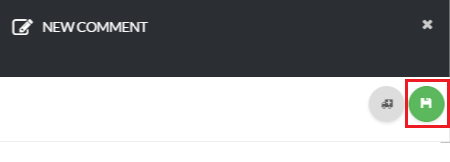
Now, click the comments icon to open the attachment window as shown in Exhibit 3a and click the create icon on the top right-hand side of the page as shown in Exhibit 3b. Then, click the Attachments tab as shown in Exhibit 3c, and drop or click the file you want to upload. Click the save icon on the top right-hand side of the page once you are done as shown in Exhibit 3d.