12345
[su_phone_tab content=”Fax”]
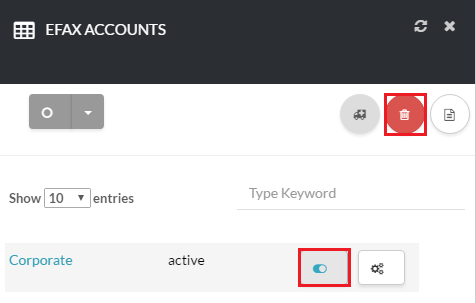
[su_create_list_item content=”Fax Account”]
Add Fax Account page
You can then view the steps for creating a new fax account in more detail in the following article: How to Add a Fax Account
You can then view the steps for creating a new fax account in more detail in the following article: How to Add a Fax Account