1. Home
  2. Organization
  3. Users
  4. How To Create a User

How To Create a User

About

This article demonstrates step-by-step instructions for How To Create a User.


Step-by-Step Instructions

The below table will detail the steps required to accomplish your goals:

1234

Login

Login to the Management Portal by clicking a sign-on provider or entering your Email Address and Password as shown in Exhibit 1. If you don't have an account, you can sign signup instantly by clicking here.
Management Portal Login Form
Navigate to Organization and click on Users as shown in Exhibit 2
 Navigate to Conference Attendant
Organziation Tab

Create User

Now, click the create icon on the upper right hand-side of the page as shown in Exhibit 3
General Details of a User
License Details of a User

Create User

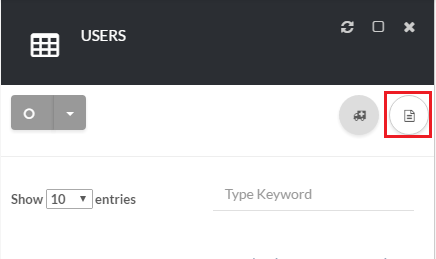
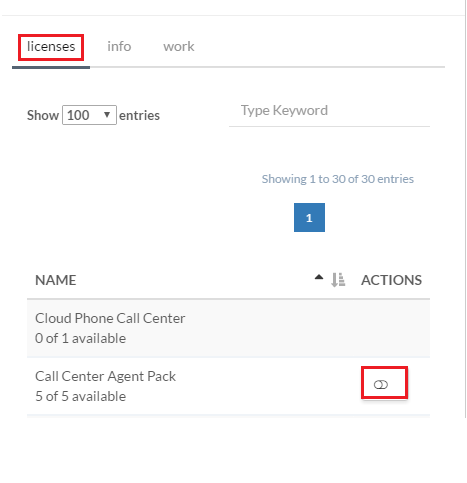
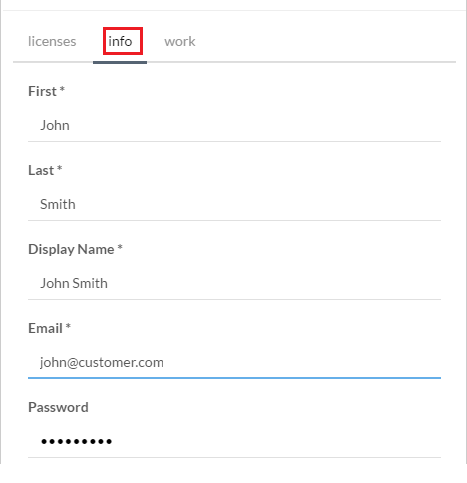
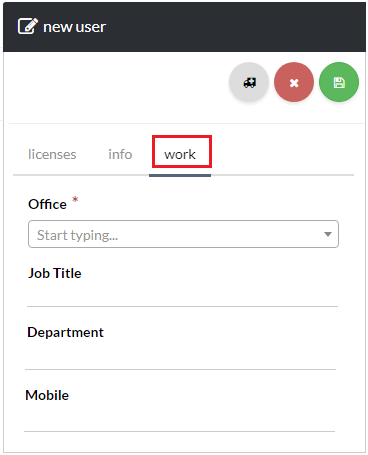
Begin creating a new user by filling out all the fields under the License tab as shown in Exhibit 4a, the Info tab as shown in Exhibit 4b, and the Work tab as shown in Exhibit 4c. Once you are done click the save icon at the top right side of the screen as shown in Exhibit 4d.

After saving, the new user will be ready to use in just a few minutes. For your convenience, a description of each field is given below:

Licenses

Licenses
Choose the license(s) that you would like the user to have.

Info

First Name
First name of user you are creating
Last Name
Last name of the user you are creating
Display Name
Display name is how the user’s name will be displayed in Skype for Business and Outlook.
Email
Username is what will be before the domain. For example, if your domain is domain.com and the username is John, the users email will be john@domian.com.
Password
Create a Password for the user you are creating.

Work

Office
Select one of the offices you created on the office page. This field is used for e911 for this user. Also, the office you choose for the user will dictate what pool the user will be hosted in.
Job Title
This is an optional field for your reference.
Department
This is an optional field for your reference.
Mobile
This is an optional field for your reference.
General Details of a User
License Details of a User
Member-Of details of a user
General details of a user
Member-Of details of a user
Work details of a user
Member-Of details of a user
Save new user

Conclusion

Congratulations! You have now completed the "How-To Create a User" article and we hope that you have accomplished the goals you set out to achieve. However, if for any reason you may still require assistance with setup, simply login to the Management Portal and submit a support request.


print
Updated on November 15, 2018

Was this article helpful?

Related Articles