1. Home
  2. Phone
  3. Auto Attendant
  4. How to Create a Auto Attendant

How to Create a Auto Attendant

About

This article demonstrates step-by-step instructions for How-To Create a Auto Attendant.

Product Features

Virtual Receptionist / Auto Attendant
Use your announcements to play a recorded message for callers who are calling into an IVR or call queue.
Speech Recognition
Add Additional Voice Commands to customize your Automatic Speech Recognition.
Text-to-Speech
Use Circuit IDs Text to speech service to play your recording. Simply type in what you would like it to say and select from 20 different unique voices.
Time of Day Routing
Set a schedule for business or after-hours that allows you to optimize your time and business.


Step-by-Step Instructions

The below table will detail the steps required to accomplish your goals:

1234

Login

Login to the Management Portal by clicking a sign-on provider or entering your Email Address and Password as shown in Exhibit 1. If you don't have an account, you can sign signup instantly by clicking here.
Management Portal Login Form
Now, navigate to Phone >Auto Attendant as shown in Exhibit 2a. Next click the create icon on the top right-hand side of the page as shown in Exhibit 2b.
Phone directory tab
Navigate to Phone
 Fill out Details
Create New Auto Attendant

Configure Auto Attendant

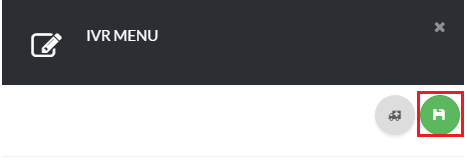
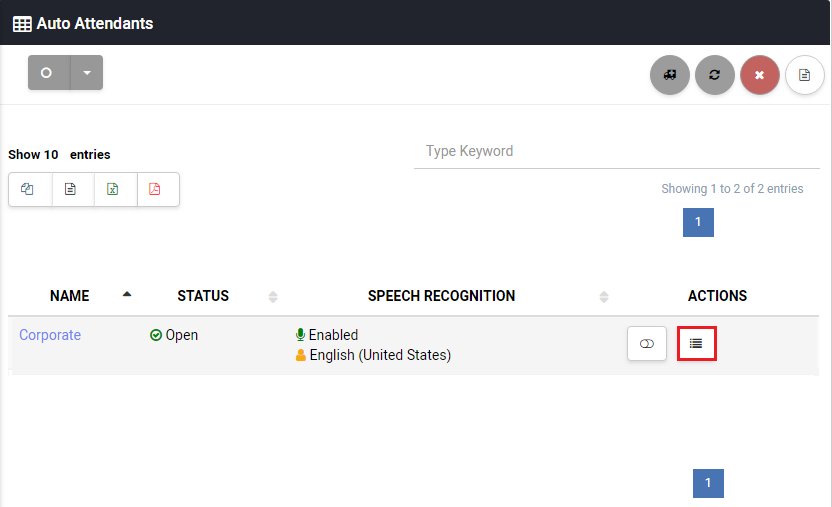
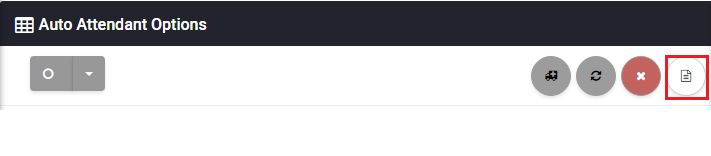
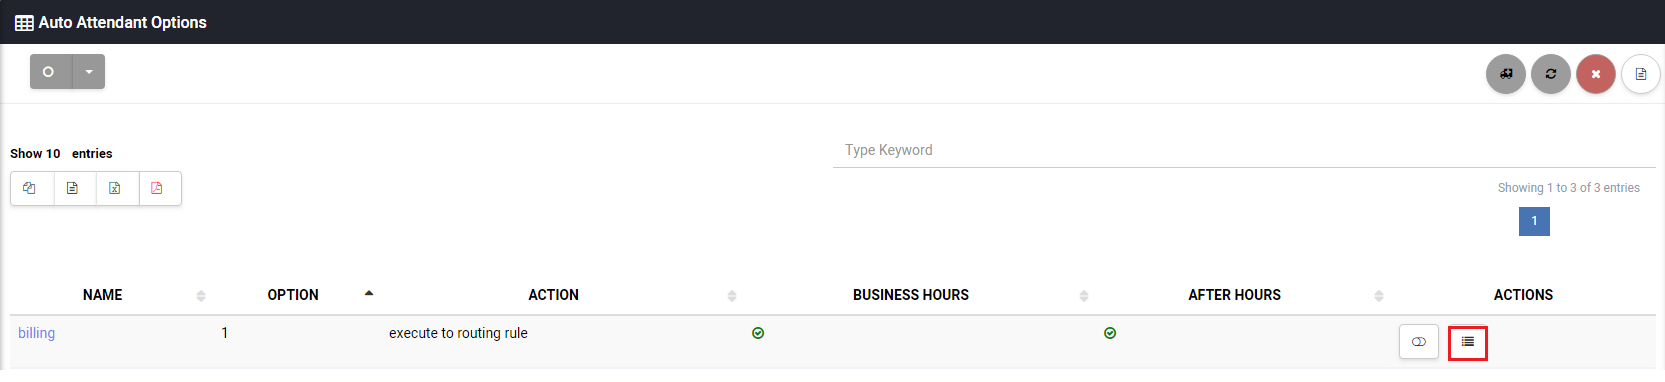
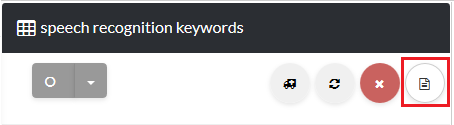
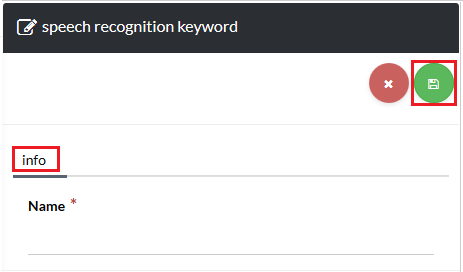
Great, you’ve made it! Now it’s time to fine tune your auto attendant as per your specifications. Review the Info section as shown in Exhibit 3a, Directory section as shown in Exhibit 3b, Greetings section as shown in Exhibit 3c, Transfer section as shown in Exhibit 3d, and Timeout section as shown in Exhibit 3e once you have selected the right options that meets your IVR requirements click the save button on the top right-hand side of the page as shown in Exhibit 3f.

Also, you can upload your menu greeting files for both business and after hours callers. Below I have provided you with a description of each field to help you along the way:

Note: Business and After Hours greetings must be in .wav format and no larger than 10MB

Info

Name
Enter a descriptive name to identify your auto attendant.
License
Choose a license for your auto attendant.
Schedule
The schedule you would like to use to define your business hours.
Extension Length
The maximum amount of digits for any extension within your menu (directory or phone options).
Speech Recognition
Turn ON/OFF Speech Recognition and choose a language for your auto attendant.

Directory

Create a Directory to be used in this step. For more information on how to create a directory see the following article: How to Add a Directory
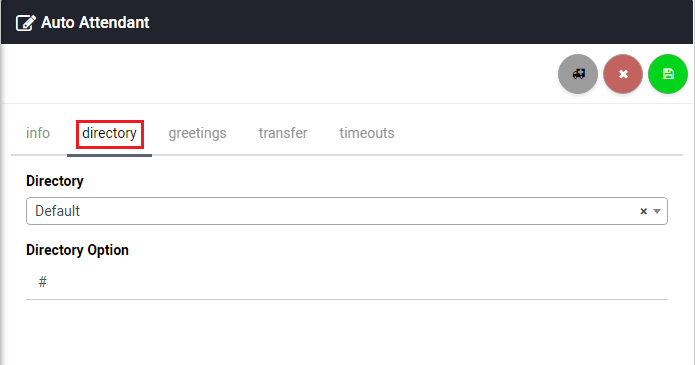
Directory
This step is Optional. Select a directory of users that can be reached by dialing their extension or name.
Directory Option
The button you want the customer to press to get to the directory (e.g. #, 1, or 2).The caller can go to the directory if they do not know a user’s direct extension.

Greetings

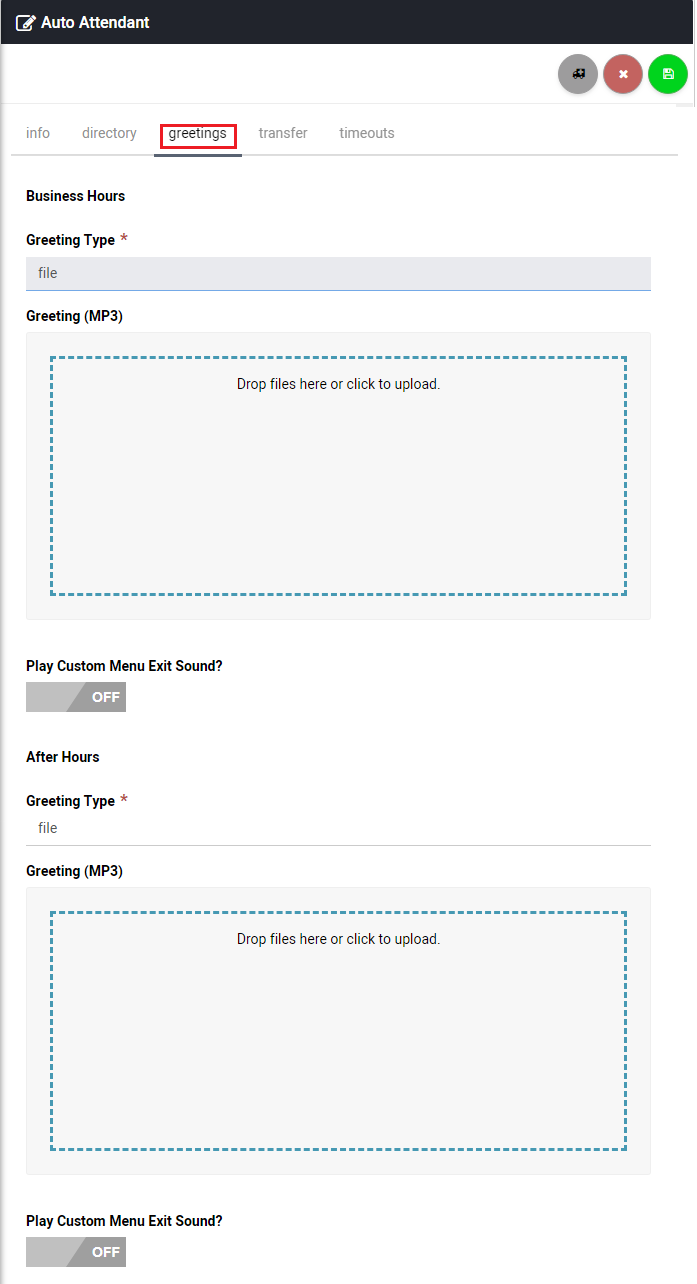
Business Hours Greeting Type
You can choose a greeting to be played during business hours. You can also choose text-to-speech and type in a greeting to be played.
Business Hours Menu Exit Sound
An optional media file to play when the menu exits (e.g. Transferring to operator…) during business hours.
After Hours Greeting
Choose a greeting to be played during after hours. You can also choose text-to-speech and type in a greeting to be played.
After Hours Menu Exit Sound
An optional media file to play when the menu exits (e.g. Transferring to operator…) during after hours.
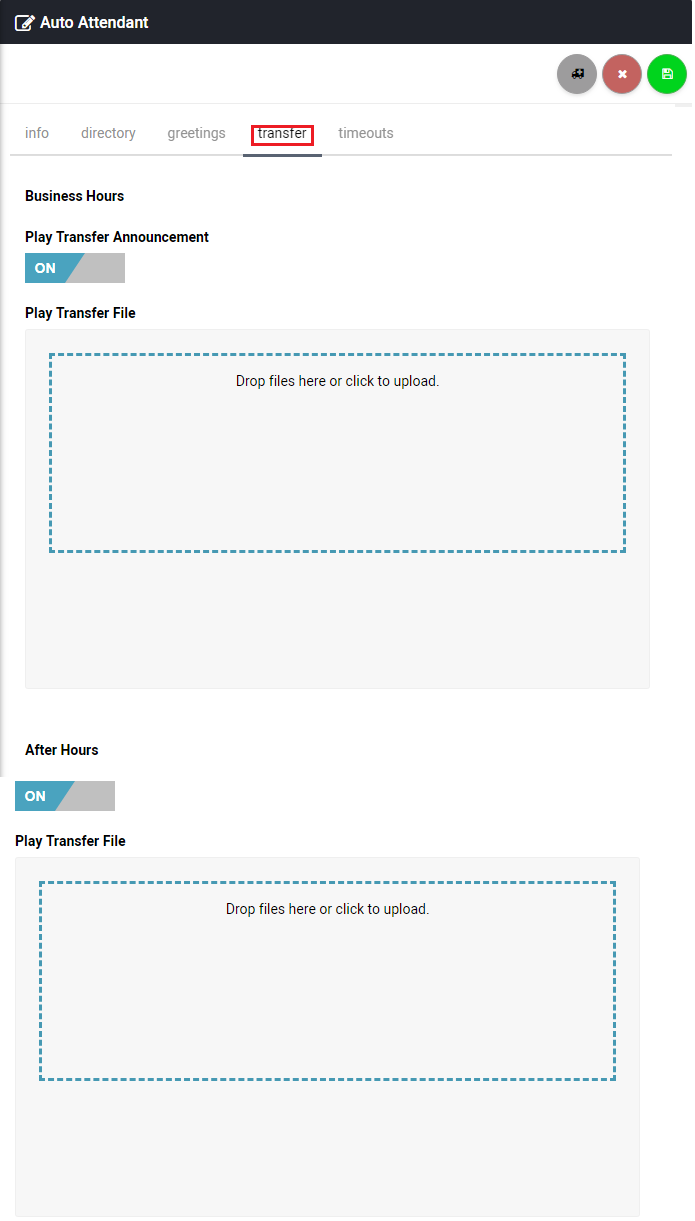
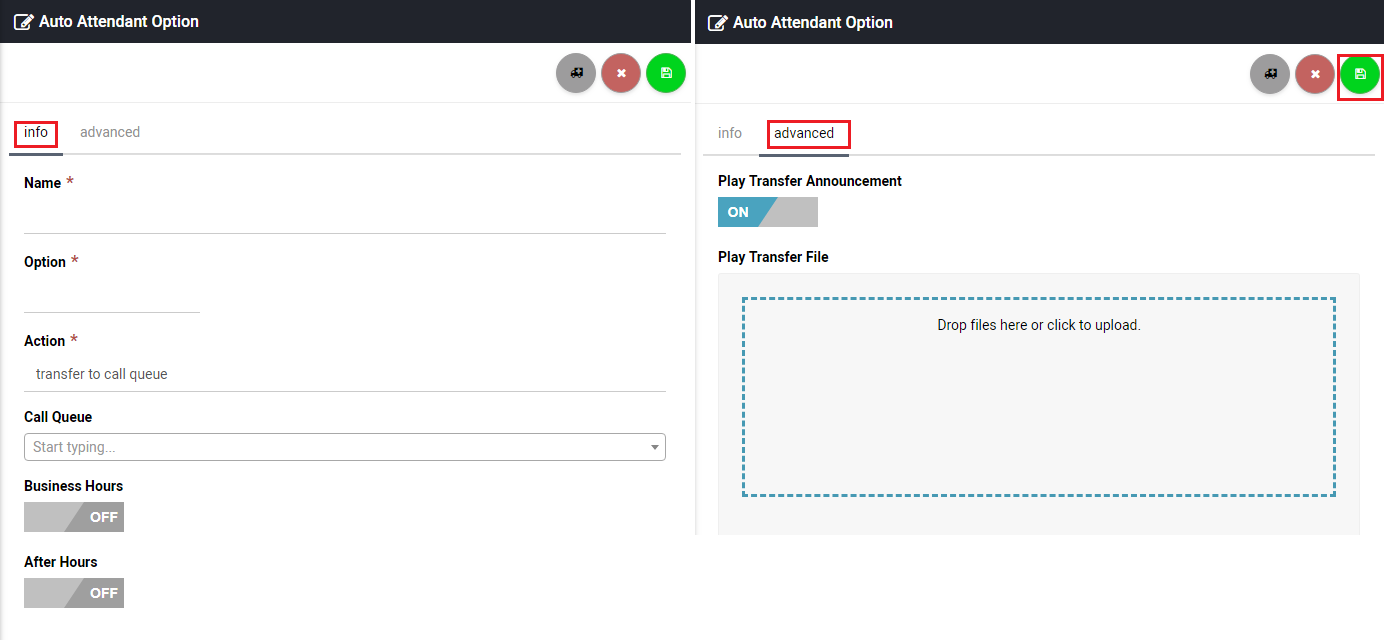
Transfer

Business Hours Play Transfer Announcement
Turn ON/OFF business hours transfer announcement.
Business Hours Play Transfer File
Upload play transfer file here.
After Hours Play Transfer Announcement
Turn ON/OFF after hours transfer announcement.
After Hours Play Transfer File
Upload play transfer file here.

Timeout

Business Hours Max Failures
The maximum amount of failures to accept before the menu exits. (e.g. Caller pressed wrong button) during business hours.
Business Hours Max Timeouts
The maximum amount of timeouts waiting on caller’s input before the menu exits during business hours.
Business Hours Timeouts
The number of seconds the menu should wait for caller’s input before timing out during business hours.
After Hours Max Failures
The maximum amount of failures to accept before the menu exits. (e.g. Caller pressed wrong button) during after hours.
After Hours Max Timeouts
The maximum amount of timeouts waiting on caller’s input before the menu exits during after hours.
After Hours Timeouts
The number of seconds the menu should wait for caller’s input before timing out during after hours.
Configure IVR Menu
Auto Attendant Info Section
Configure IVR Menu
Directory
Configure IVR Menu
Attendant Greetings
Configure IVR Menu
Transfer
Configure IVR Menu
Timeouts
Configure IVR Menu
Save New Auto Attendant

Create Auto Attendant Options

To create an auto attendant menu option, click on the Options icon under Actions as shown in Exhibit 4a, then click the create icon on the top right-hand side of the page as shown in Exhibit 4b. Next, fill-out all the required information and click Save as shown in Exhibit 4c. Lastly, to add the Speech Recognition Keywords, go to the Options icon under actions as shown in Exhibit 4d, and click the creater icon as shown in Exhibit 4e. On the Speech Recognition Keyword page, under info enter a descriptive name and click save as shown in Exhibit 4f.

Info

Name
A descriptive name for the option which can be displayed to the user taking the call.
Option
The numbers in the auto attendant Menu that specify where the call goes when the number indicated is selected by the caller.
Action
Select where users should be routed to when they press the various numbers.
Business Hours
Set the status of the auto attendant menu during business hours.
After Hours
set the status of the auto attendant menu after hours.

Advanced

Play Transfer Announcement
Turn ON/OFF transfer announcement.
Play Transfer File
Upload play transfer file here.
Add a New IVR Menu
Auto Attendant Menus
Add a New IVR Menu
Add Auto Attendant Menu
Create New Auto Attendant Menu
Go to Speech Recognition Keywords
Add a New IVR Menu
Create New Speech Recognition Keyword
Add a New IVR Menu
Save Speech Recognition Keyword

Conclusion

Congratulations! You have now completed the "How-To How-To Create a New Auto Attendant" article and we hope that you have accomplished the goals you set out to achieve. However, if for any reason you may still require assistance with setup, simply login to the Management Portal and submit a support request.


print
Updated on November 16, 2018

Was this article helpful?

Related Articles