About
This article demonstrates step-by-step instructions for How to Setup a Custom Outbound Caller ID.Step-by-Step Instructions
The below table will detail the steps required to accomplish your goals:123
Login
Login to the Management Portal by clicking a sign-on provider or entering your Email Address and Password as shown in Exhibit 1. If you don't have an account, you can sign signup instantly by clicking here.
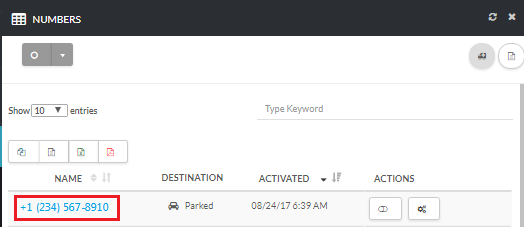
Navigate to Phone Numbers Page
Now, navigate to Phone > Numbers as shown in Exhibit 2a. On the Numbers page select a phone number as shown in Exhibit 2b.

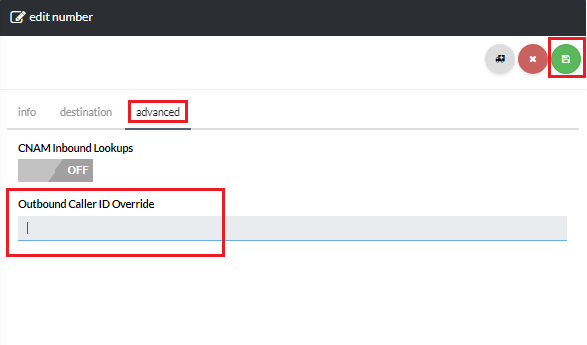
Setup Outbound Caller ID
Lastly, on the Edit Number page, click on the Advanced tab. Then, enter the outbound caller ID on the Outbound Caller ID Override field, and hit Save to commit to the changes as shown in Exhibit 3.