123
[su_management_portal_login]
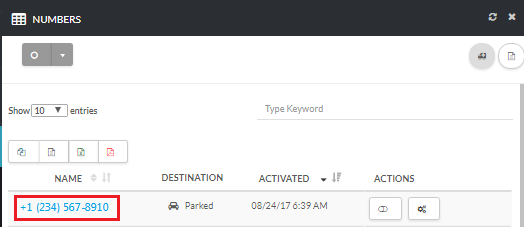
Navigate to Phone Numbers Page
Now, navigate to Phone > Numbers [su_exhibit text=”2a”]. On the Numbers page select a phone number [su_exhibit text=”2b”].

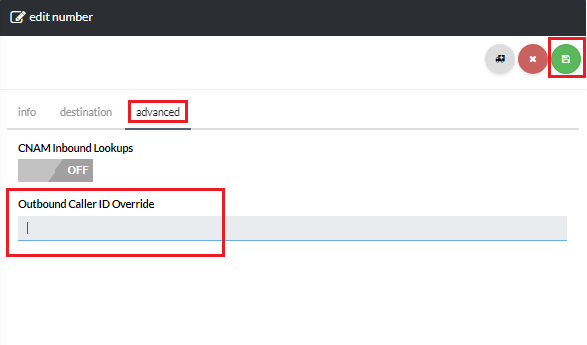
Setup Outbound Caller ID
Lastly, on the Edit Number page, click on the Advanced tab. Then, enter the outbound caller ID on the Outbound Caller ID Override field, and hit Save to commit to the changes [su_exhibit text=”3″].