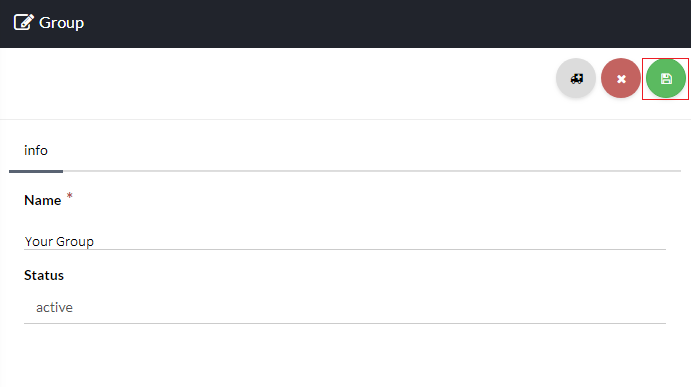
Next, click the gear icon located under Actions next to your group [su_exhibit text=”4a”]. Now, you can start managing your group by selecting one of the Settings [su_exhibit text=”4b”].
[su_field_description]
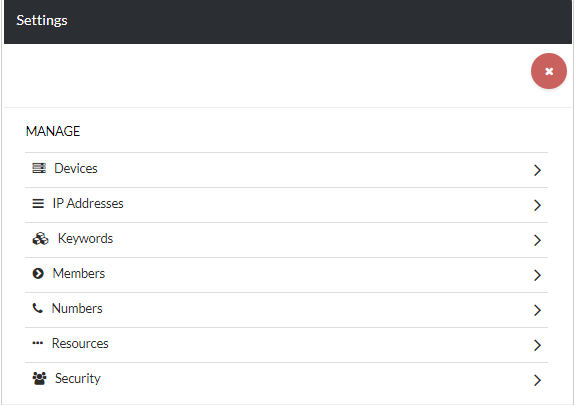
Manage
Devices
Select the devices you want to add to your group.
IP Addresses
Select the IP Addresses you want to add to your group.
Keywords
Add the keywords you want to use when you setup keyword call monitoring.
Members
Select the members you want to add to your group.
Numbers
The phone numbers that will be used for the group.
Resources
Choose the resources you want to use for your group.
Security
Choose what pages you would like this group to have access to.