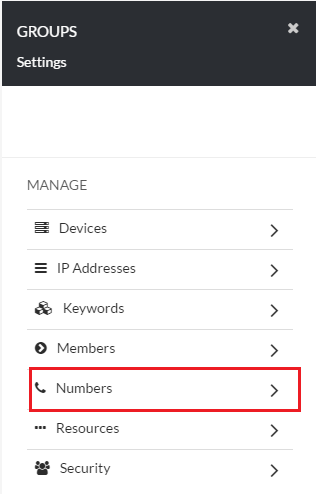
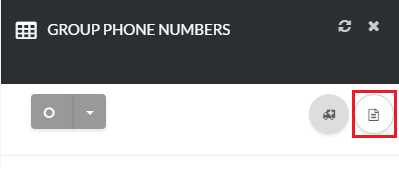
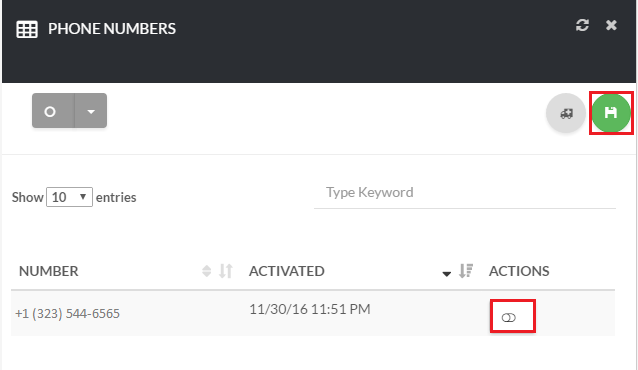
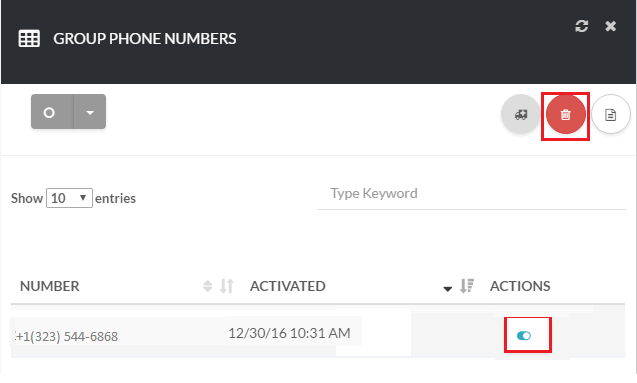
1. Home
  2. Organization
  3. Groups
  4. How to Add/Remove Numbers to a Group

How to Add/Remove Numbers to a Group

About

This article demonstrates step-by-step instructions for How to Manage Group Numbers.

Step-by-Step Instructions

The below table will detail the steps required to accomplish your goals:

12345

Login

Login to the Management Portal by clicking a sign-on provider or entering your Email Address and Password as shown in Exhibit 1. If you don't have an account, you can sign signup instantly by clicking here.
Management Portal Login Form
Navigate to Organization > Groups as shown in Exhibit 2a and click the gear icon under Actions as shown in Exhibit 2b.
Phone directory tab
Navigate to Organization
Phone directory tab
Gear Icon

Open Numbers

Now, click Numbers as shown in Exhibit 3.
Phone directory tab
Select Numbers Tab

Add Group Numbers

Next, click the icon on the top right-hand side of the page as shown in Exhibit 4a. Under Actions, click the switch button to select the items and click Save as shown in Exhibit 4b.
Add a phone directory
New Group Numbers
Add a phone directory
Add Phone Numbers

Remove Group Numbers

To remove a item click the switch button under Actions next to the item and click the trash can icon at the top of the page as shown in Exhibit 5.

Add a phone directory
Delete Group Phone Numbers

Conclusion

Congratulations! You have now completed the "How-To How to Manage Group Numbers" article and we hope that you have accomplished the goals you set out to achieve. However, if for any reason you may still require assistance with setup, simply login to the Management Portal and submit a support request.


print
Updated on February 2, 2018

Was this article helpful?

Related Articles