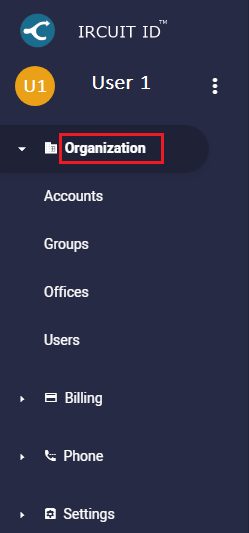
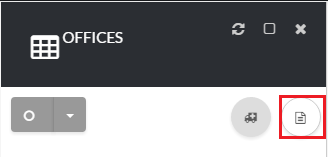
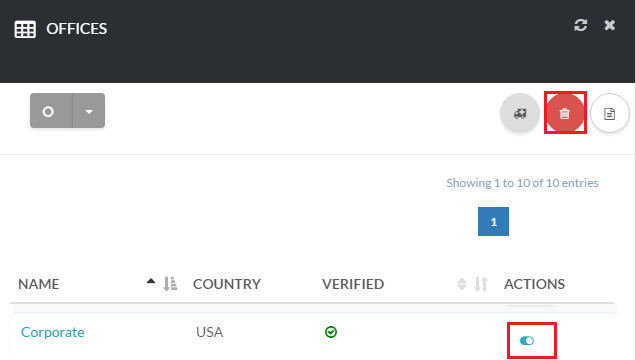
How to Manage Office Locations [su_howto_introduction text=”Use the Offices Page”] [su_howto_steps] [su_list_table content=”Offices”] 12345 [su_access_list page=”Offices” tab=”Organization”] Exhibit 1 Navigate to Organization [su_create_list_item content=”Office”] You can view the steps for creating a new office in more detail in the following article: How to Create a New Office Location Exhibit 2 Add a Office How to Delete A Office [su_delete_item content=”Office”] Exhibit 3 Delete A Office How to Delete Multiple Offices This feature is not available. However, you can delete offices individually. How to Refresh a List [su_refresh_page] [su_howto_conclusion text=”Use the Offices Page “] print Don't be shellfish...FacebookDiggitGoogleLinkedinPinterestRedditStumbleuponTwitterEmail Updated on November 15, 2018 Was this article helpful? Yes No Related Articles How to Create a New Office Location