1. Home
  2. Settings
  3. Schedules
  4. How To Create A Schedule

How To Create A Schedule

About

This article demonstrates step-by-step instructions for How to create a schedule.

Step-by-Step Instructions

The below table will detail the steps required to accomplish your goals:

123

Login

Login to the Management Portal by clicking a sign-on provider or entering your Email Address and Password as shown in Exhibit 1. If you don't have an account, you can sign signup instantly by clicking here.
Management Portal Login Form
Now, navigate to Settings >Schedules as shown in Exhibit 2a. Next click the create icon on the top right-hand side of the page as shown in Exhibit 2b.
Phone directory tab
Navigate to Settings
 Fill out Details
Create New Schedules

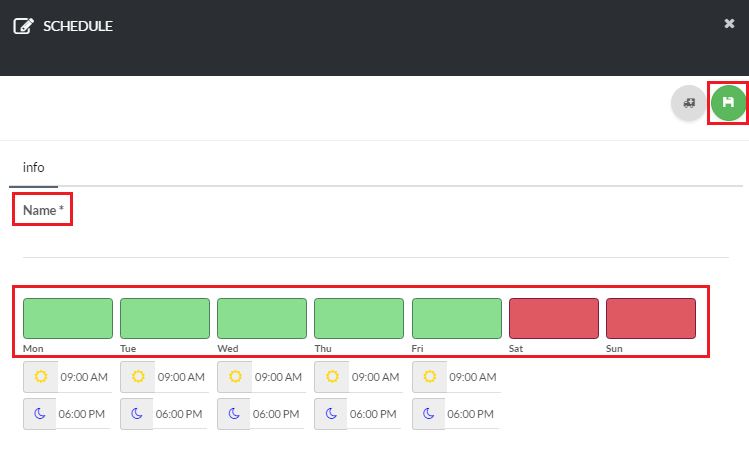
Create and Save a Schedule

Now, enter a Name for the schedule. Next, create your schedule by clicking on the Day and selecting the Time. Click Save once all information has been entered as shown in Exhibit 3

Enter Schedule Details

Conclusion

Congratulations! You have now completed the "How-To Create a schedule" article and we hope that you have accomplished the goals you set out to achieve. However, if for any reason you may still require assistance with setup, simply login to the Management Portal and submit a support request.


print
Updated on February 2, 2018

Was this article helpful?

Related Articles