About
This article demonstrates step-by-step instructions for How to Manage Group Devices.Step-by-Step Instructions
The below table will detail the steps required to accomplish your goals:12345
Login
Login to the Management Portal by clicking a sign-on provider or entering your Email Address and Password as shown in Exhibit 1. If you don't have an account, you can sign signup instantly by clicking here.
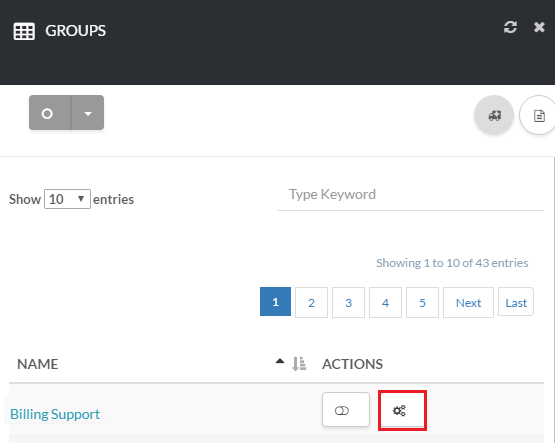
Navigate to Groups
Navigate to Organization > Groups as shown in Exhibit 2a and click the gear icon under Actions as shown in Exhibit 2b.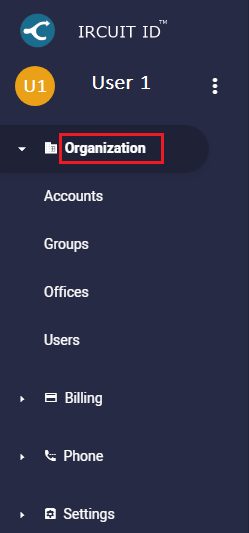
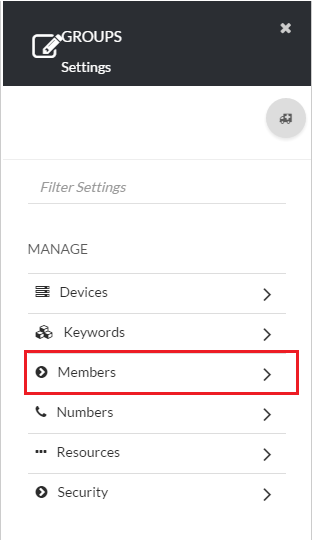
Add Group Members
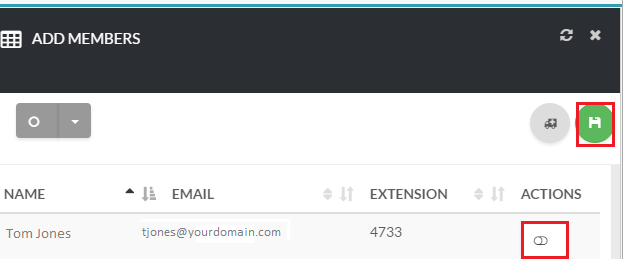
Next, click the icon on the top right-hand side of the page as shown in Exhibit 4a. Under Actions, click the switch button to select the items and click Save as shown in Exhibit 4b.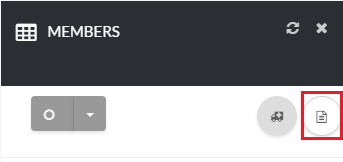
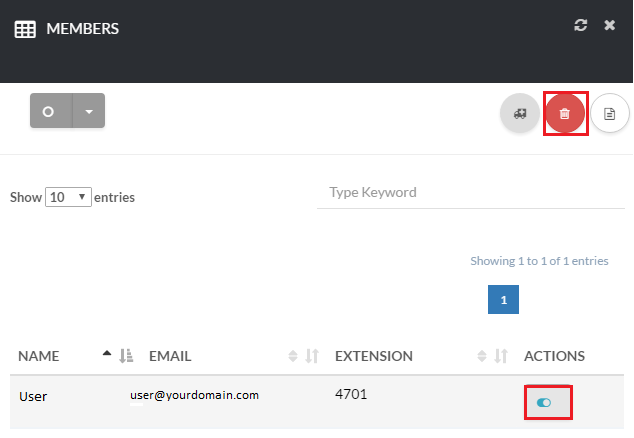
Remove Group Members
To remove a item click the switch button under Actions next to the item and click the trash can icon at the top of the page as shown in Exhibit 5.