About
This article demonstrates step-by-step instructions for Creating an Fax account.Product Features
Step-by-Step Instructions
The below table will detail the steps required to accomplish your goals:1234
Login
Login to the Management Portal by clicking a sign-on provider or entering your Email Address and Password as shown in Exhibit 1. If you don't have an account, you can sign signup instantly by clicking here.
Navigate to Fax
Now, navigate to Phone >Fax as shown in Exhibit 2a. Next click the create icon on the top right-hand side of the page as shown in Exhibit 2b.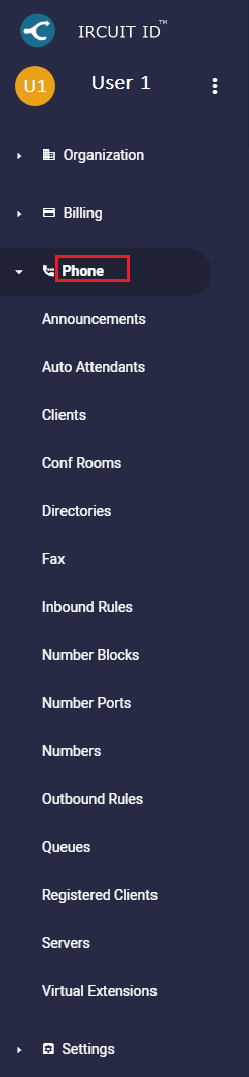
Creating the Fax Account
Almost done! Complete the required fields and click the save icon on the top right-hand side of the page as shown in Exhibit 3.
For your convenience, a description of each field is given below: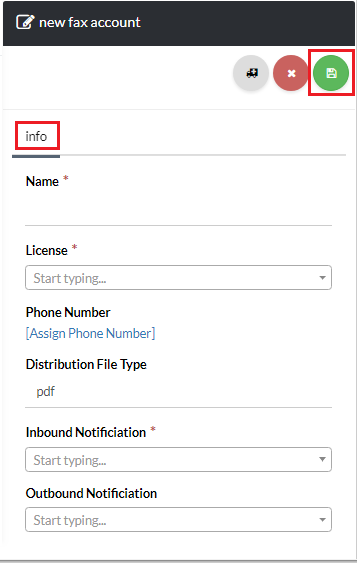
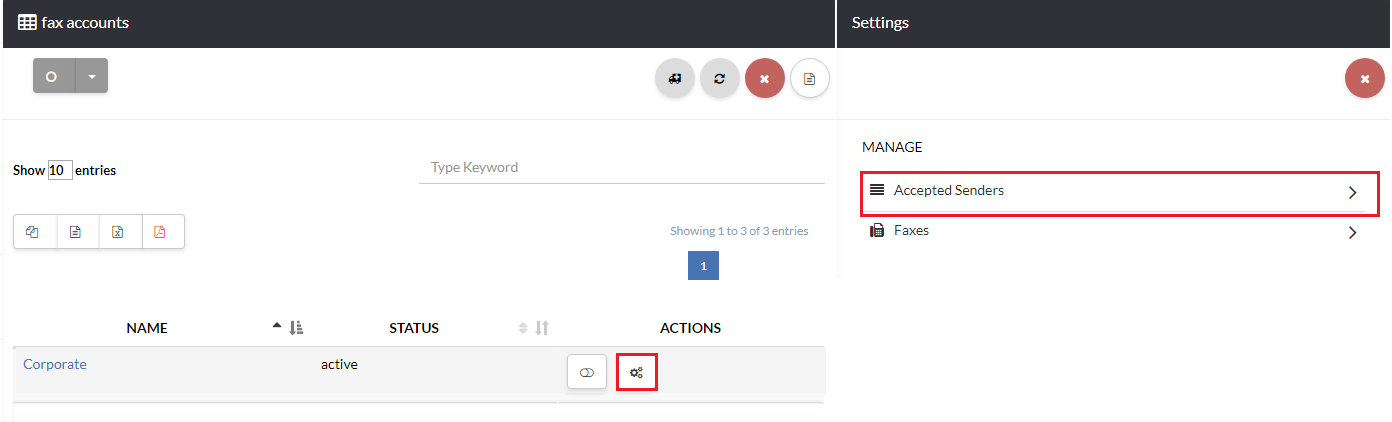
Add Acceptable Sender
Now, you can control who is able to send faxes with this account by adding accepted senders.
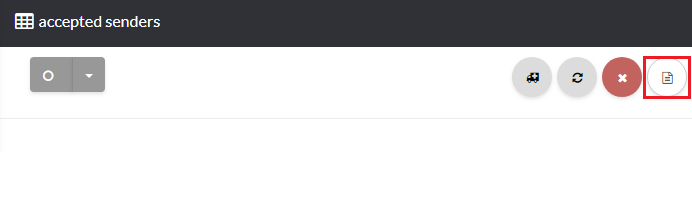
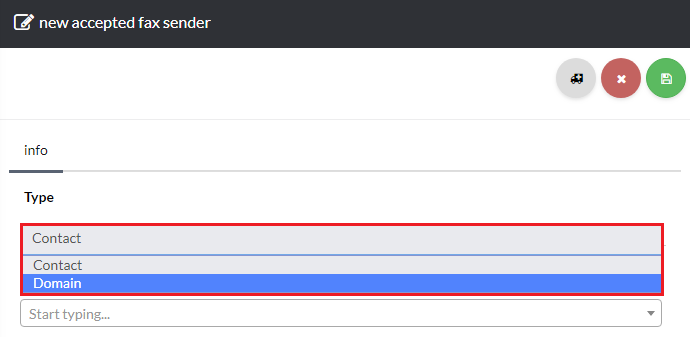
Click the gear icon next to your fax account to navigate to the fax setting page and select Accepted Senders as shown in Exhibit 4a. Next, click the create icon on the top right-hand side of the page as shown in Exhibit 4b. For the sender Type select Contact or Domain as shown in Exhibit 4c. Contact will allow you to select a specific user, and Domain will allow you to enter a full domain and any email address using that domain will be added as an accepted sender.